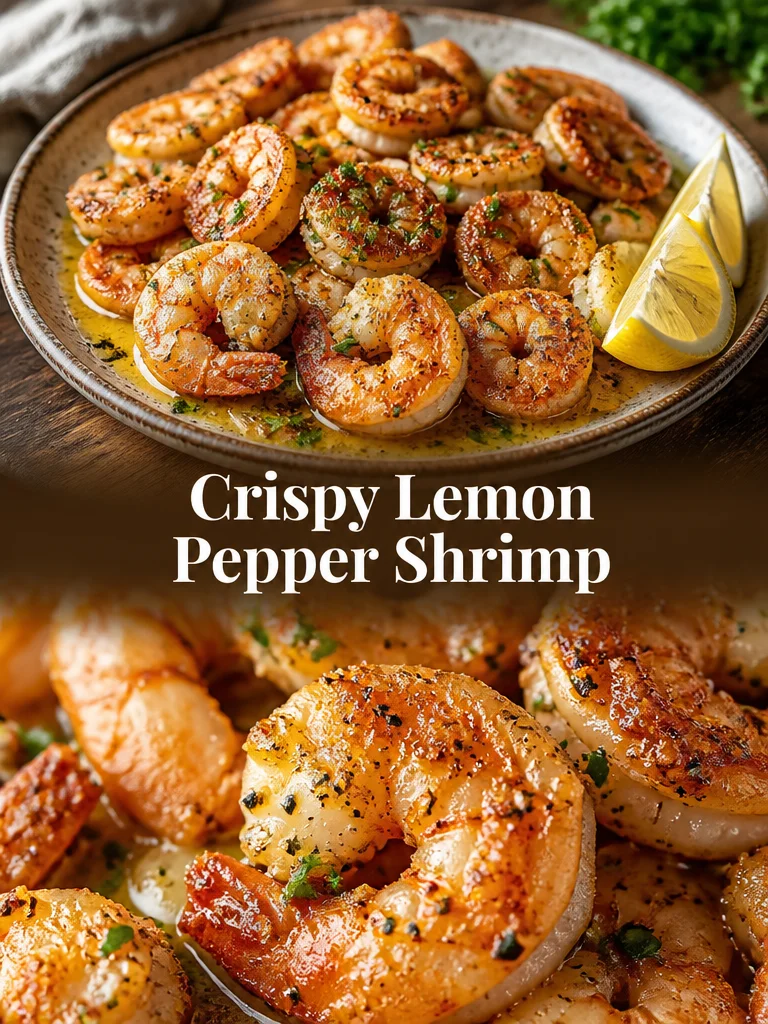
I still remember the first time I cooked these Crispy Lemon Pepper Shrimp for a messy, last-minute dinner: the kitchen smelled bright and citrusy within minutes, and everyone dove in before I could finish plating. This recipe is a fast, satisfying way to get perfectly crunchy shrimp with a bright lemon-pepper punch — ideal for weeknights, casual parties, or whenever you want a seafood dish that feels a little celebratory without hours of fuss.
Why you’ll love this dish
Crispy Lemon Pepper Shrimp delivers a lot of payoff for very little work. It’s ready in about 20 minutes, uses pantry staples, and hits both texture and flavor: a golden, crunchy coating around tender, juicy shrimp with a tangy peppery lift from lemon pepper seasoning. It’s kid-friendly, scales easily for a crowd, and makes a great starter or the centerpiece of a quick dinner.
“Crunchy outside, juicy inside — my whole family called it restaurant-level.” — a friend after trying this exact method
This is the kind of recipe you make when you want something impressive but not complicated: quick frying, simple breading, and a bright finish with lemon wedges.
Step-by-step overview
The process is straightforward: you dredge the shrimp in a flour-breadcrumb mix spiked with lemon pepper, dip them first into buttermilk so the coating sticks, then shallow-fry until golden. Expect 2–3 minutes per side over medium heat. Keep batches small so the oil temperature stays steady. Finish with a squeeze of lemon and serve right away for best texture.
{image_template}
What you’ll need
- 1 pound large shrimp, peeled and deveined (tails on or off, as you prefer)
- 1/2 cup all-purpose flour
- 1/2 cup breadcrumbs (use panko for extra crunch)
- 1 teaspoon lemon pepper seasoning (store-bought or homemade; see tips below)
- 1/2 teaspoon salt
- 1/4 teaspoon black pepper
- 1/2 cup buttermilk (sub: 1/2 cup milk + 1/2 tablespoon lemon juice, let sit 5 minutes)
- Oil for frying (neutral oil with high smoke point: vegetable, canola, or peanut)
- Lemon wedges for serving
Notes/substitutions inline:
- Panko breadcrumbs will give you a lighter, crispier crust than regular fine crumbs.
- To make lemon pepper seasoning: combine 1 tablespoon lemon zest (or dried lemon peel) with 1 teaspoon coarse black pepper and 1/2 teaspoon salt. Adjust to taste.
- If you prefer a gluten-free version, swap the flour and breadcrumbs for a gluten-free flour blend and gluten-free panko.
{image_2}
How to prepare it
- Mix the dry coating: In a medium bowl, whisk together the flour, breadcrumbs, lemon pepper seasoning, salt, and black pepper until evenly combined.
- Wet the shrimp: Pour the buttermilk into another shallow bowl. Dip each shrimp into the buttermilk briefly, letting excess drip off.
- Coat the shrimp: Transfer the shrimp to the flour-breadcrumb mix and press gently to adhere a full coating on both sides. Shake off any loose crumbs.
- Heat the oil: Pour enough oil into a frying pan to come about 1/4–1/2 inch up the sides. Heat over medium until shimmering. The oil should be around 325–350°F (use an instant-read thermometer) — or test by dropping a tiny piece of bread in; it should sizzle and brown in about 20–30 seconds.
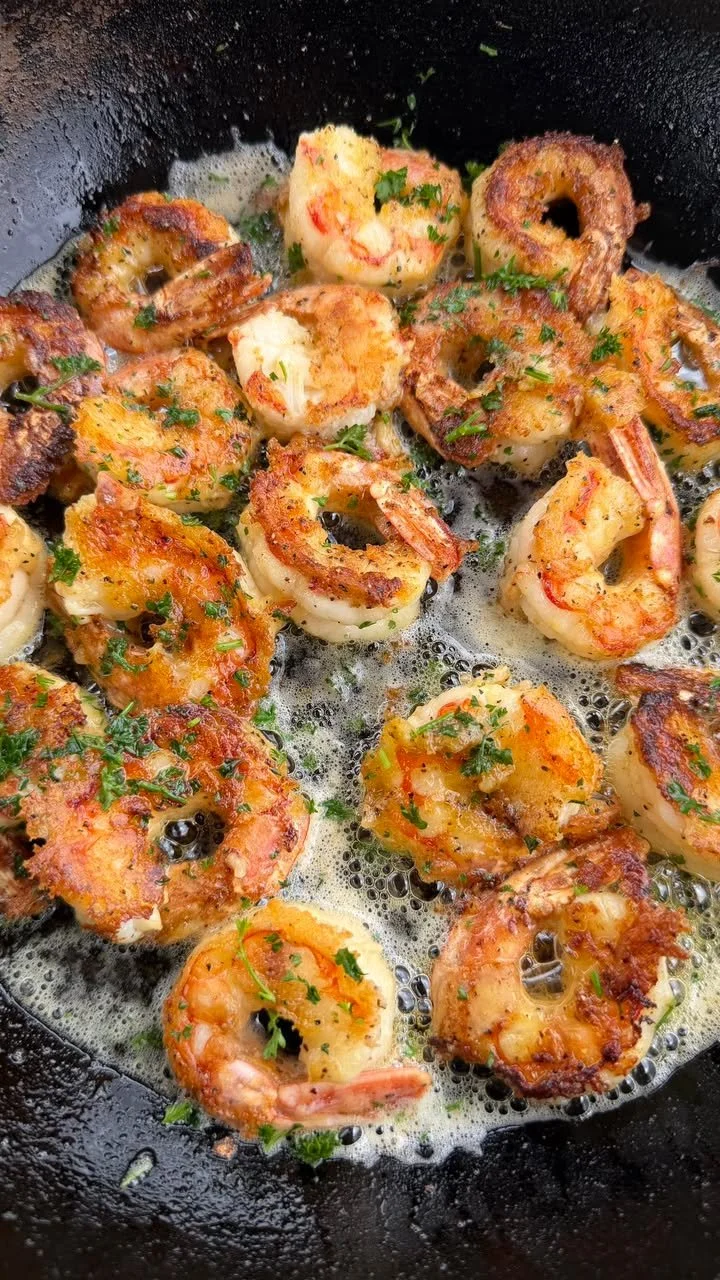
- Fry in batches: Add shrimp in a single layer without crowding. Fry about 2–3 minutes per side, until golden brown and opaque throughout. Don’t overcook — shrimp cook quickly and become rubbery if left too long.
- Drain and rest: Transfer cooked shrimp to a paper towel–lined plate or a wire rack to drain briefly. If using paper towels, change them if they get soggy to keep shrimp crisp.
- Serve hot: Arrange on a platter and serve with lemon wedges for squeezing.
Timing tips: work quickly once shrimp are breaded so the coating stays dry and adherent. Keep the oil at a steady temperature; if it drops, the coating will absorb oil and become greasy.
{image_1}
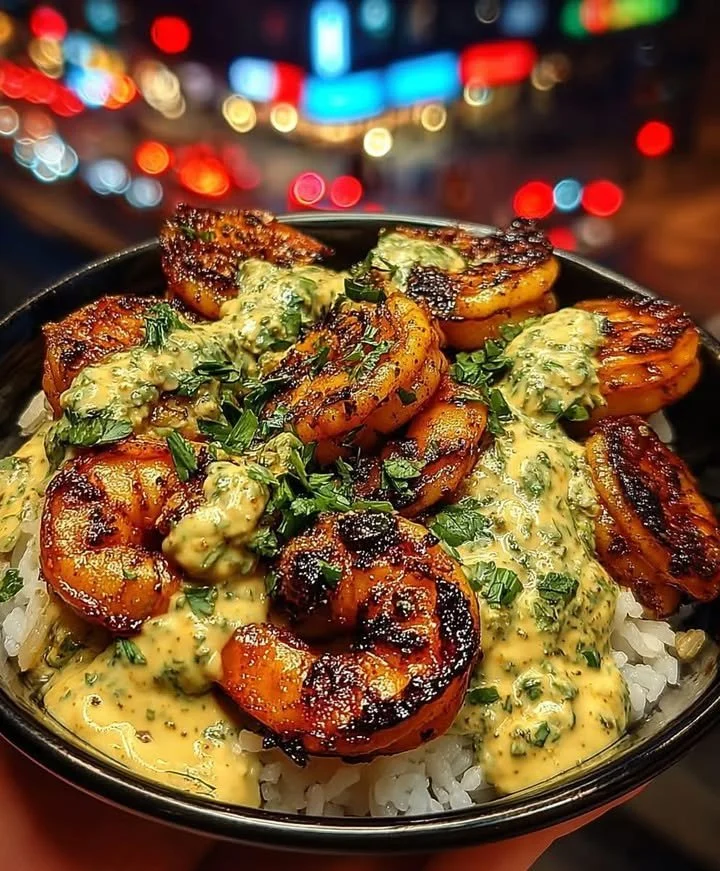
How to plate and pair
- Serve on a platter with lemon wedges and a sprinkle of chopped parsley for color.
- For appetizers, offer a dipping trio: garlic aioli, sweet chili sauce, and a lemon-herb yogurt dip.
- For a main course, serve over a bed of garlic butter rice, tossed salad, or inside toasted hoagie rolls for shrimp po’ boys.
- Pair with crisp white wines (Sauvignon Blanc, Vermentino) or a cold lager. Light sides like coleslaw, roasted asparagus, or a simple cucumber salad keep the meal feeling bright.
Storage and reheating tips
- Refrigerate leftovers within two hours of cooking. Store in an airtight container and eat within 2–3 days. Reheat in a 375°F oven on a wire rack for 6–8 minutes to revive crispness.
- Freezing: cooked shrimp will lose some texture after freezing. For best results, freeze raw breaded shrimp on a baking sheet in a single layer, then transfer to a freezer bag. Fry from frozen, adding a minute or two per side. Cooked shrimp can be frozen up to 1 month; thaw overnight in the fridge and re-crisp in the oven.
- Food safety: always keep seafood chilled before cooking and reheat to steaming hot. Discard any cooked shrimp left out at room temperature for over 2 hours (1 hour above 90°F).
Pro chef tips
- Use panko for extra crunch and a lighter crust. Regular breadcrumbs pack a denser coating.
- Keep the oil temperature steady. If it’s too hot the coating will burn before the shrimp cooks; too cool and the shrimp will soak up oil. A thermometer is worth it.
- Don’t overcrowd the pan. Frying in small batches preserves oil temperature and ensures even browning.
- Let the shrimp sit a minute on a wire rack after frying instead of piling them; trapped steam softens the crust.
- For a brighter lemon note, grate a little fresh lemon zest over the shrimp just before serving.
Creative twists
- Spicy lemon pepper: add 1/4–1/2 teaspoon cayenne or use a lemon-pepper blend with red pepper flakes.
- Parmesan crust: mix 2 tablespoons finely grated Parmesan into the breadcrumbs.
- Air-fryer option: spray breaded shrimp lightly with oil and cook at 400°F for 6–8 minutes, flipping halfway, until golden and cooked through. Texture is slightly different but still excellent.
- Gluten-free: use a combination of almond flour and gluten-free panko. Note almond flour browns faster — watch temperature.
- Citrus-herb: finish with a drizzle of lemon-herb butter (melted butter, lemon juice, parsley) for a richer finish.
Common questions
Q: How long does this take from start to finish?
A: Plan 15–25 minutes total. Prep (breading and heating oil) takes about 10–12 minutes; frying in batches is roughly 8–12 minutes depending on the pan size.
Q: Can I use frozen shrimp?
A: Yes—thaw completely and pat dry before breading. Excess moisture prevents the coating from sticking and makes oil spit. For convenience, you can freeze breaded shrimp on a sheet, then fry from frozen (allow a bit more time).
Q: What’s the best oil to use for frying?
A: Use neutral oils with a high smoke point like vegetable, canola, or peanut oil. Olive oil has a lower smoke point and imparts flavor that can overwhelm the lemon-pepper profile.
Q: Can I bake these instead of frying?
A: You can bake at 425°F on a lightly oiled sheet for 10–12 minutes, flipping halfway. They won’t be as uniformly crisp as shallow-fried shrimp, but it’s a lower-oil alternative. Using panko and a light oil spray helps.
Q: How do I know the shrimp are done?
A: Shrimp are done when the flesh turns opaque and the tails curl into a loose C (not tightly curled). Time is about 2–3 minutes per side for large shrimp. If using a thermometer, 120–140°F is common for shrimp; however, visual doneness (opaque, firm) is most reliable in this short-cook method.
If you’d like, I can provide a printable recipe card version or a shopping list formatted for mobile. Which would help you most?