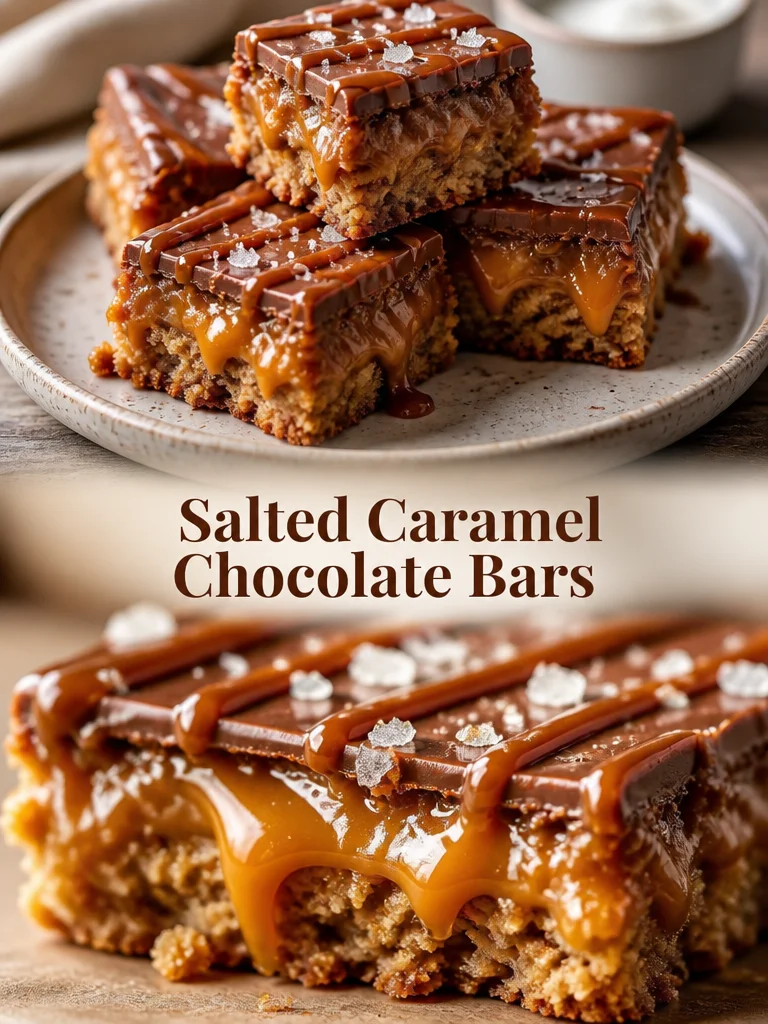
I remember the first time I baked these salted caramel chocolate bars — the kitchen smelled like brown sugar and butter within minutes, and everyone hovered waiting for the first warm piece. They’re a hybrid between a cookie bar and a gooey caramel brownie: chewy, buttery, studded with chocolate, and finished with a hit of sea salt that keeps each bite balanced. They’re fast, forgiving, and perfect when you want something impressive without a lot of fuss.
What makes this recipe special
This recipe is one of those reliable crowd-pleasers: no eggs, simple pantry ingredients, and a single 9×13 pan. The combination of melted butter and brown sugar creates a tender, chewy base that contrasts with pockets of molten caramel and chocolate. A quick sprinkle of coarse sea salt at the end transforms the sweetness into something more complex — that sweet-salty contrast is what keeps people coming back for seconds.
“My go-to dessert for potlucks — easy to make, transport, and everyone raves about the salty caramel pockets.” — a neighborly review
How this recipe comes together
Before you grab the bowl, here’s the quick process so you know what to expect:
- Melt butter and mix with brown and granulated sugars to form a smooth, glossy dough base.
- Stir in dry ingredients and fold in chocolate chips.
- Press half the dough into the pan, add a generous drizzle of caramel, then top with the remaining dough dollops.
- Bake until edges are golden and centers set, finish with sea salt, cool, and slice into bars.
{image_template}
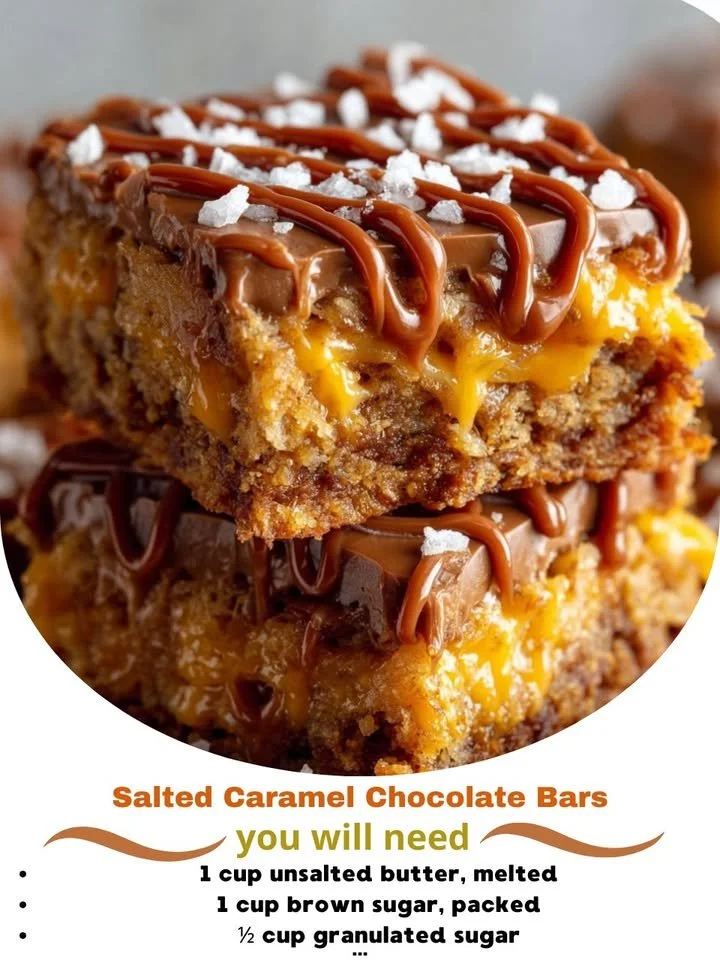
Gather these items
- 1 cup unsalted butter, melted (room-temperature unsalted butter can be melted gently)
- 1 cup packed brown sugar (light or dark both work; dark gives deeper molasses flavor)
- 1/2 cup granulated sugar
- 2 cups all-purpose flour (for gluten-free, substitute 1:1 GF flour blend)
- 1/2 teaspoon baking soda
- 1/2 teaspoon salt
- 1 cup chocolate chips (semisweet or a mix of milk + dark)
- 1/2 cup caramel sauce (store-bought or homemade; thicker caramel holds pockets better)
- Sea salt for topping (coarse flakes like Maldon)
Notes/substitutions:
- Brown sugar can be swapped for coconut sugar in a pinch for a more caramel-like note.
- Want nuts? Stir in 1/2 cup chopped pecans or walnuts with the chocolate chips.
- For a stronger chocolate flavor, use 3/4 cup chips and 1/4 cup cocoa nibs or chopped chocolate.
Directions to follow
- Preheat the oven to 350°F (175°C). Grease a 9×13-inch baking pan or line it with parchment, letting the paper hang over the sides for easy lifting.
- In a large bowl, whisk the melted butter, packed brown sugar, and granulated sugar until smooth and slightly glossy. This helps dissolve the sugars and yields a chewier texture.
- Add the flour, baking soda, and salt. Stir with a spatula until the dough comes together. It will be thick and slightly sticky.
- Fold in the chocolate chips so they’re evenly distributed.
- Press half of the dough into the prepared pan in an even layer. Use lightly greased hands or the bottom of a measuring cup to compact it gently.
- Drizzle the caramel sauce evenly over the dough layer. For a marbled look, spoon the caramel in lines or dollops; avoid overheating the caramel so it stays viscous.
- Dollop the remaining dough over the caramel. It won’t cover perfectly — that’s fine; the dough spreads as it bakes.
- Sprinkle coarse sea salt over the top to taste (about a pinch per 9–12 squares).
- Bake 25–30 minutes, or until the edges are golden and the center looks set but still slightly soft. Avoid overbaking to keep the bars chewy.
- Allow the pan to cool completely on a wire rack before using the parchment overhang to lift and slice into bars. Cooling helps the caramel firm up and prevents gooey mess.
Best ways to enjoy it
- Serve slightly warm with a scoop of vanilla ice cream and an extra drizzle of caramel for a dessert that looks and tastes restaurant-worthy.
- Cut into bite-size squares for parties or wrap individually for bake sales and lunchboxes.
- Pair with a robust coffee, a milky latte, or a dessert wine like tawny port — the sweet-salty flavors stand up well to bold drinks.
- For a casual treat, enjoy with a glass of cold milk; the textures are nostalgic and comforting.
How to store & freeze
- Room temperature: Store cooled bars in an airtight container at room temperature for up to 3 days. Place parchment between layers to prevent sticking.
- Refrigerator: Keep in an airtight container for up to 7 days. Bring to room temperature or warm briefly before serving for a softer texture.
- Freezing: Wrap individual bars tightly in plastic wrap and place in a freezer-safe bag or container. Freeze up to 3 months. Thaw in the fridge overnight, then warm gently if desired.
Food safety note: Because these bars don’t contain eggs, there’s no raw-egg risk, but always cool completely before storing to avoid condensation, which can make them soggy.
Pro chef tips
- Don’t overmix the dough once you add flour — mix until just combined to avoid a tough texture.
- Melt the butter slowly and let it cool slightly; very hot butter can make the sugars grainy or affect texture.
- Use a thicker caramel sauce (not a runny syrup) so the caramel stays in pockets rather than soaking all the way through.
- If the top browns too quickly, tent with foil for the last 5–10 minutes of baking.
- For cleaner slices, chill the baked pan for 30–60 minutes, then cut with a sharp knife warmed under hot water and wiped dry between cuts.
Creative twists
- Nutty shortbread bars: Stir 1/2 cup finely chopped pecans into the dough and sprinkle chopped nuts on top before baking.
- Salted peanut-caramel: Swap chocolate chips for peanut butter chips and add chopped roasted peanuts.
- Double-chocolate: Replace 1/4 cup of flour with unsweetened cocoa powder for a richer chocolate base.
- Gluten-free: Use a 1:1 gluten-free flour blend plus 1/4 teaspoon xanthan gum if your blend lacks it.
- Vegan: Use vegan butter and swap chocolate chips for dairy-free chips; ensure your caramel is vegan (or use a thick date caramel).
- Mini tartlets: Press dough into a muffin tin, add caramel and chocolate, and bake for portable single-serve versions.
Your questions answered
Q: How long does this recipe take from start to finish?
A: Active prep is about 15–20 minutes. Baking is 25–30 minutes, plus cooling (at least 30–60 minutes for best slicing). Plan roughly 1.5–2 hours including cooling.
Q: Can I use salted butter instead of unsalted?
A: Yes — if you use salted butter, omit or reduce the 1/2 teaspoon of added salt. Taste and adjust the final sea-salt sprinkle accordingly.
Q: Why is there no egg in this recipe? Will it still hold together?
A: This recipe relies on melted butter and sugar to bind the flour into a sturdy, chewy dough. The bars hold together well after cooling; chilling before slicing helps if you prefer firmer pieces.
Q: My caramel sank into the dough — how can I prevent that?
A: Use a thicker caramel and avoid heating it right before assembly. Pressing a slightly firmer bottom layer and dolloping rather than fully spreading the top dough helps keep caramel in pockets.
Q: Can I double the recipe or bake in a different pan?
A: You can double and bake in a half-sheet pan (approx. 18×13), but monitor bake time closely — larger pans will bake faster, so start checking 5–10 minutes earlier.
Q: Are these safe to give to kids or to pack in lunches?
A: Yes. They contain no raw egg and freeze well for portioning. Because they can be sticky, wrap individually for lunchboxes to avoid a mess.
If you want a printable shopping list or a scaled version (half or double), tell me how many bars you need and I’ll adjust the ingredient amounts and bake time.