I’ve made this chocolate pudding pie more times than I can count for last-minute dinners, potlucks, and when kids demand something chocolate-y with zero fuss. It’s a no-bake, creamy pie built on a graham cracker crust, thickened instant pudding, and a cloud of whipped cream with shaved Hershey’s on top. If you want a fast, crowd-pleasing dessert that tastes homemade without hours in the kitchen, this is it.
Why you’ll love this dish
This pie hits the sweet spot: rich chocolate flavor, buttery graham crust, and a light whipped topping — all ready in under three hours with mostly hands-off time. It’s perfect for weeknight dinners, birthday parties, and last-minute guests because it uses pre-made components (instant pudding and a store-bought crust) but finishes with fresh touches that make it feel special.
“Creamy, simple, and exactly what my kids ask for every time we have company — chocolate pudding pie is the dessert that saves the night.” — a happy home baker
- Kid-approved and easy for helpers to assemble.
- Budget-friendly: a few pantry staples create a dessert that looks and tastes like more.
- No oven required, which is ideal for hot days or when the oven’s busy.
Preparing Chocolate Pudding Pie
Quick overview of how this comes together so you know what to expect: mix the instant chocolate pudding with the 2% milk called for on the box, let it thicken, pour it into the graham crust, spread whipped cream on top, shave a Hershey’s bar for garnish, and chill for at least two hours to set. That’s it — straightforward steps with no baking or tempering.
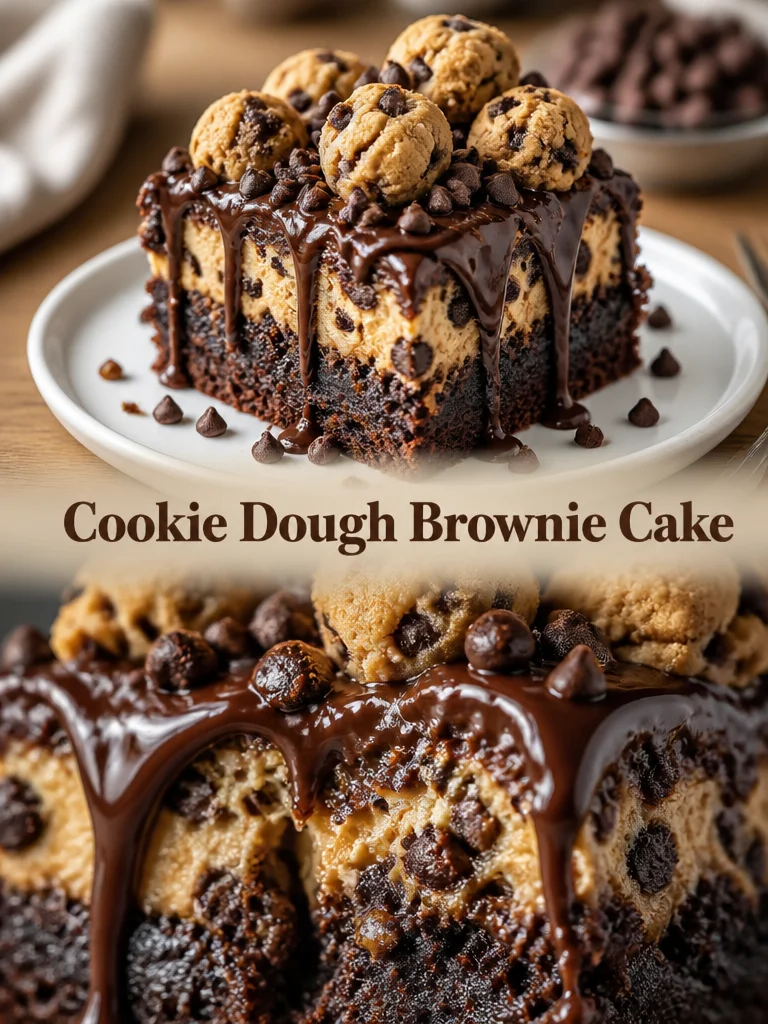
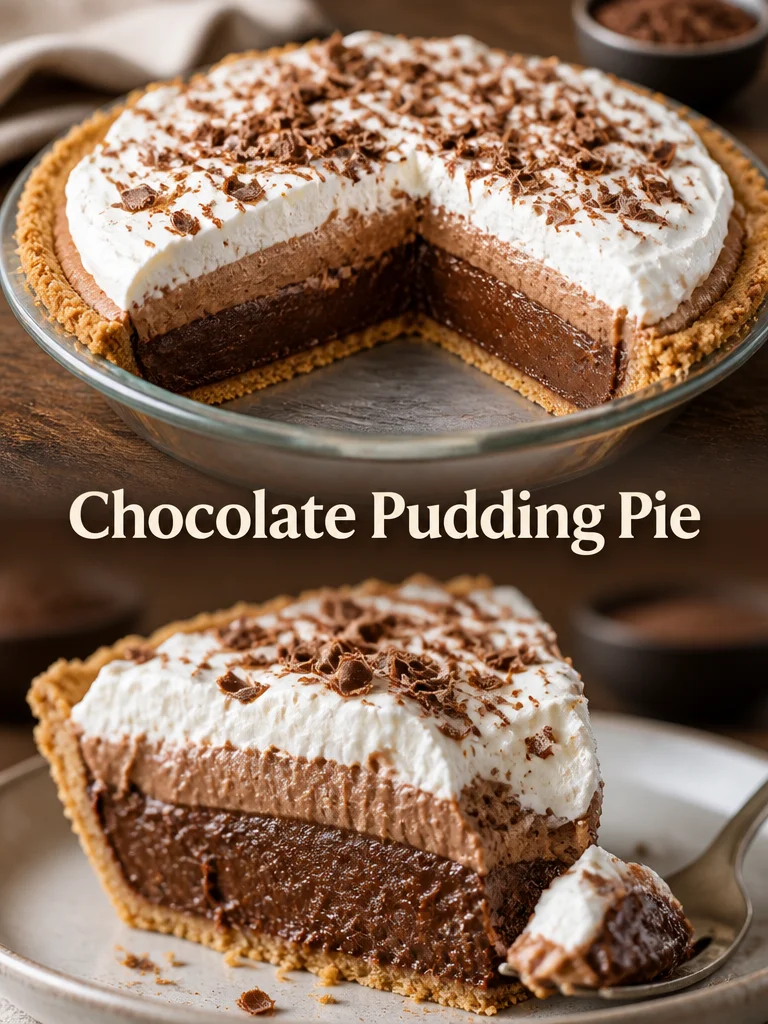
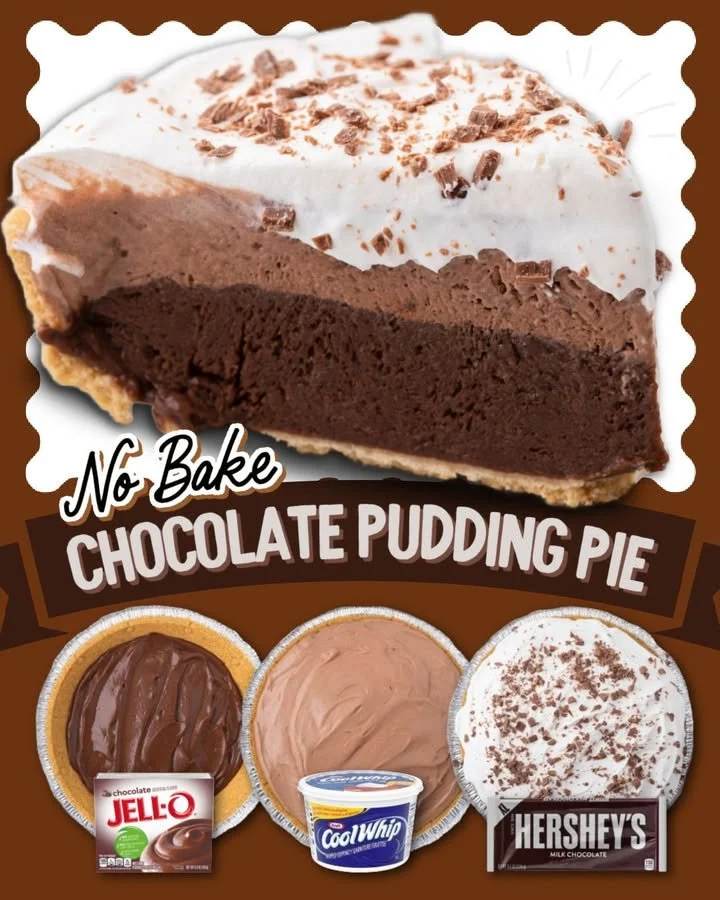
{image_template}
What you’ll need
- 5.85 ounces instant chocolate pudding mix
- 2% milk — the amount called for on the pudding box (usually about 2 cups for a 5.85–5.9 oz package)
- 1 pre-made graham cracker pie crust (9-inch)
- 8 ounces whipped cream (store-bought whipped topping or freshly whipped heavy cream)
- 1 regular-sized Hershey’s chocolate bar, for shaving on top
Notes and substitutions:
- For a slightly richer pudding, use whole milk instead of 2% (the box calls for 2%, but whole milk gives a silkier texture).
- Use a chocolate sandwich cookie crust (Oreo) if you prefer a bolder chocolate base.
- Swap dairy whipped cream for whipped coconut topping to make it dairy-free.

Directions to follow
- Pour the pudding mix into a medium mixing bowl. Add the amount of 2% milk called for on the pudding box (check the package; it’s usually about 2 cups).
- Whisk the mixture briskly until smooth and lump-free. Then stop whisking and let the pudding sit for 5 minutes to thicken.
- Pour the thickened pudding into the pre-made 9-inch graham cracker pie crust. Use a spatula to spread it evenly into an even layer.
- Spoon or pipe the 8 ounces of whipped cream over the pudding. Smooth it gently with an offset spatula or the back of a spoon for a clean finish.
- Use a vegetable peeler or box grater to shave the Hershey’s chocolate bar over the whipped cream for a pretty garnish.
- Refrigerate the pie for at least 2 hours to set fully. Once chilled, slice and serve.
Short, clear actions: whisk, rest, pour, spread, garnish, chill.
Best ways to enjoy it
- Serve slices chilled on dessert plates with a fork. For a café-style finish, dust very lightly with cocoa powder or add a sprig of mint.
- Pair with hot coffee or espresso to balance the sweetness, or a cold glass of milk for the kids.
- For a celebration, add fresh raspberries or sliced strawberries on top of the whipped cream for color and a bright contrast.
- Make mini versions in ramekins or small tart pans for individual servings at parties.
Storage and reheating tips
- Keep the pie covered tightly in the refrigerator. It will stay fresh for up to 3–4 days.
- Do not leave the pie at room temperature for more than 2 hours — dairy toppings and pudding should be kept cold.
- Freezing the whole, fully assembled pie is not ideal because the whipped topping loses texture. If you must freeze, remove the whipped cream and freeze the pudding-filled crust (wrap tightly); thaw in the refrigerator and add fresh whipped cream before serving. Frozen pudding layers may become slightly grainy after thawing.
Helpful cooking tips
- Follow the pudding box for milk measurement — instant pudding depends on the correct milk-to-mix ratio for proper set.
- Whisk until smooth but don’t over-whisk after the box directions; letting it sit undisturbed for the full 5 minutes helps the mix thicken evenly.
- If using real whipped cream, whip to soft peaks; over-whipping turns it grainy and makes spreading harder. For easier spreading, chill the whipped cream briefly before topping.
- For clean slices, run a sharp knife under hot water, dry it, and slice in one smooth motion. Wipe the blade between cuts.
- Shave the chocolate over a sheet of parchment to catch the curls and transfer easily to the pie.
Creative twists
- Peanut butter swirl: drop small dollops of peanut butter on the pudding before chilling and swirl gently for a peanut-chocolate combo.
- Boozy adult pie: add 1–2 tablespoons of Kahlúa or bourbon to the pudding before it sets for an adult version.
- Fruit blackout: fold in diced strawberries or bananas between the pudding and whipped cream.
- Gluten-free: use a gluten-free graham or almond flour crust.
- Homemade pudding: replace the instant mix with cooked chocolate custard if you want a from-scratch filling (requires chilling time).
- Vegan swap: use a dairy-free instant chocolate pudding or make a cornstarch-based cocoa pudding with coconut milk, and top with coconut whipped cream.
Common questions
Q: How long does this pie take to make?
A: Active time is about 10–15 minutes (mixing, spreading, garnishing). Chill time is at least 2 hours, so plan for roughly 2–2.5 hours total from start to table.
Q: Can I use homemade chocolate pudding instead of instant?
A: Yes. Homemade (stovetop) chocolate pudding works beautifully and yields a richer texture. Be sure to cool it completely before pouring into the crust so the whipped cream and crust don’t soften.
Q: Is it safe to make this ahead? How far in advance?
A: Yes — make it up to 1 day ahead for best texture. The whipped cream stays freshest if added the same day you serve, but fully assembled pies are fine refrigerated for up to 3–4 days.
Q: Can I freeze leftovers?
A: Freezing whole assembled pie isn’t recommended because whipped topping loses structure. If you need to freeze, remove the whipped cream, wrap the pudding-filled crust tightly, and freeze. Thaw in the fridge and top with fresh whipped cream.
Q: My pudding was lumpy — what went wrong?
A: Lumps usually mean the powder didn’t disperse evenly. Whisk vigorously at the start, using a whisk or handheld mixer, and scrape the sides and bottom of the bowl. If lumps remain after resting, strain the pudding through a fine-mesh sieve.
Q: How do I get sharp pie slices for serving?
A: Chill thoroughly. Use a hot, clean knife for each cut (dip in hot water and wipe dry between slices) for neat edges.
Enjoy making this simple, crowd-pleasing chocolate pudding pie — it’s a reliable dessert that looks lovely with very little effort.