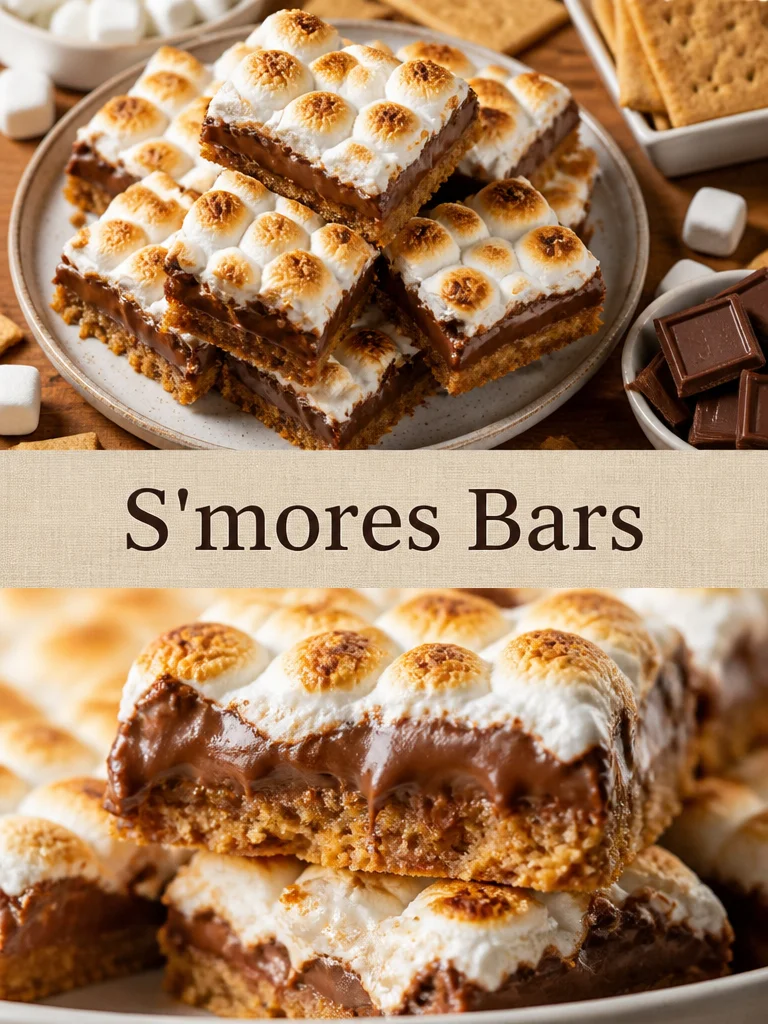
S’mores bars are one of those desserts that taste nostalgic the second you bite into them: buttery graham crust, melted chocolate, and gooey marshmallows all in one pan. I love making them when I want a campfire-style treat without the fire pit, and if you enjoy easy dessert bars, you might also like these simple no-bake peanut butter bars for another quick sweet fix.
Why you’ll love this dish
These bars hit the sweet spot between easy and impressive. They use pantry staples, come together fast, and bake in a single 9×13 dish, which makes cleanup refreshingly simple. The texture is the real win: a lightly sweet, crumbly base supports a layer of chocolate that melts just enough under the marshmallows.
They’re also a great choice for potlucks, bake sales, birthday parties, or a casual weekend dessert. Kids love the familiar s’mores flavor, and adults usually go back for a second piece because the bars are rich without being fussy.
“This is the kind of dessert that disappears fast. It feels homemade and nostalgic, but it doesn’t take all afternoon to make.”
How this recipe comes together
The process is very straightforward: mix the crust, press it into the pan, layer on chocolate, then cover everything with marshmallows and bake until the top is golden. The key is to press the crust firmly so the bars slice cleanly later, and to watch the oven near the end so the marshmallows toast beautifully instead of overbrowning.
If you like quick bar desserts with a similar crowd-pleasing vibe, another easy bar recipe can be a handy go-to for busy days or lunchbox treats.
{image_template}
What you’ll need
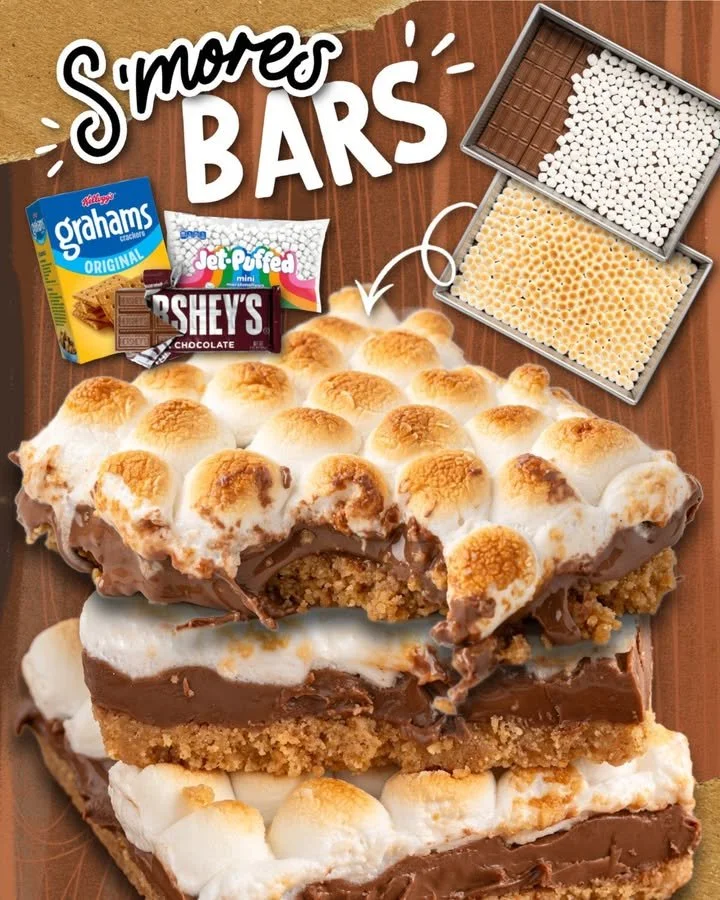
- 2 cups graham cracker crumbs
- 1/2 cup powdered sugar
- 8 to 12 tablespoons butter, melted
- 4 Hershey’s chocolate bars (4.4-ounce bars)
- 10 ounces mini marshmallows (1 package)
A few notes: use the full amount of butter if your crumbs seem dry, and slightly less if they already hold together well. If you can only find a slightly different chocolate bar size, that’s fine too—just cover the crust in an even layer.
Step-by-step instructions
- Preheat the oven to 350°F (175°C).
- In a large bowl, stir together the graham cracker crumbs, powdered sugar, and melted butter until the mixture looks crumbly and evenly moistened.
- Press the crumb mixture firmly into the bottom of a greased 9×13-inch baking dish to form the crust.
- Arrange the Hershey’s chocolate bars evenly over the crust.
- Scatter the mini marshmallows over the top, making sure the chocolate is well covered.
- Bake for 10 to 12 minutes, just until the marshmallows are golden and melty.
- Let the bars cool before cutting so they hold their shape better.
Best ways to enjoy it
These bars are best served once they’ve cooled enough to slice, but they still have that soft, gooey center people expect from s’mores. For a fun presentation, cut them into neat squares and stack them on a parchment-lined platter. If you want to make dessert feel a little more special, serve them with cold milk, vanilla ice cream, or fresh berries on the side.
They also work well as part of a dessert board. Add strawberries, pretzels, and cookies alongside the bars for a mix of textures and flavors.
Keeping leftovers fresh
Store leftover bars in an airtight container at room temperature for up to 2 days, or refrigerate them for up to 5 days if your kitchen is warm. If you refrigerate them, let them sit at room temperature for a few minutes before serving so the crust softens slightly.
For longer storage, freeze the cut bars in a single layer until firm, then wrap and store them in a freezer-safe container for up to 2 months. Thaw in the refrigerator or on the counter. As with any dessert containing dairy, don’t leave them out for more than 2 hours in warm conditions.
Helpful cooking tips
For the cleanest slices, let the bars cool completely before cutting, then use a sharp knife wiped clean between cuts. If you want a slightly firmer crust, pack it down with the bottom of a measuring cup. A gentle press is not enough here; this base benefits from being firmly compacted.
If you like a toastier top, move the pan closer to the center-upper rack during the last minute or two of baking and watch closely. Marshmallows can go from golden to too dark very quickly.
Creative twists
You can easily change the flavor without losing the classic s’mores feel. Try adding peanut butter cups in place of some of the chocolate bars, or sprinkle a few crushed pretzels over the marshmallows for a salty crunch. A drizzle of melted peanut butter after baking also works nicely.
For a different spin, use dark chocolate instead of milk chocolate, or add a thin layer of Nutella under the marshmallows. If you need a gluten-free version, use certified gluten-free graham-style crumbs. The bars will still have that familiar campfire-inspired flavor.
Common questions
How long does it take to make S’mores Bars?
The prep is usually very quick, and the baking time is only about 10 to 12 minutes. Including cooling time, plan on about 30 to 45 minutes total before slicing.
Can I make these ahead of time?
Yes. Bake them earlier in the day or even the day before, then store them covered. They slice best after they’ve fully cooled, so making them ahead is actually helpful.
Do I have to use Hershey’s chocolate bars?
No, but they do give the most classic s’mores flavor. Any milk chocolate bar that melts well can work.
Why are my bars falling apart?
Usually the crust wasn’t packed firmly enough or the bars were cut while still too warm. Let them cool completely before slicing, and press the crust into the pan with steady pressure.
Conclusion
If you want a simple dessert that tastes like a backyard summer treat, these S’mores Bars are a reliable choice. They’re quick to assemble, easy to share, and flexible enough for casual gatherings or weeknight cravings. For another classic take on this flavor combination, try S’mores Cookie Bars from Sally’s Baking Addiction.