I’ve made these bars more times than I can count, and they’re exactly the kind of dessert I reach for when I want something simple, fruity, and a little nostalgic. The oat crumble gives them a hearty, buttery base, while the strawberries bake down into a jammy layer that feels like summer in every bite. If you enjoy fruity bar desserts, you might also like these strawberry cheesecake bars for a creamier twist later on.
Why you’ll love this dish
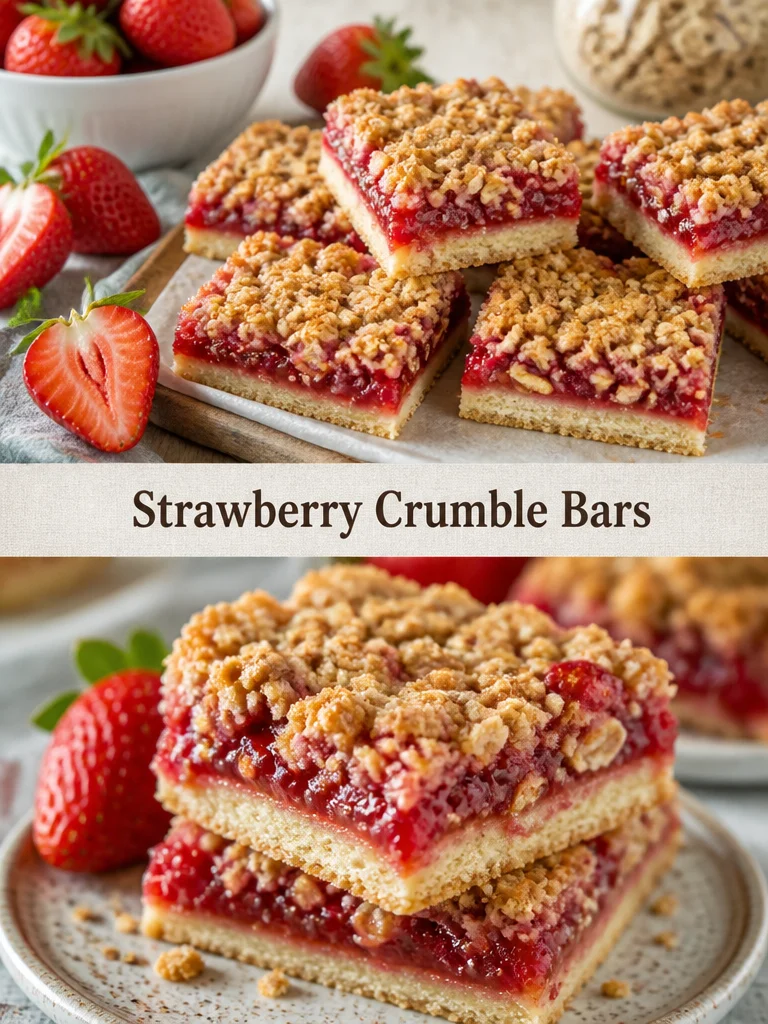
Strawberry Crumble Bars hit a sweet spot between easy baking and impressive results. They use pantry-friendly ingredients, come together in one baking dish, and don’t require any fancy equipment. That makes them ideal for after-school snacks, casual brunches, potlucks, or a weekend dessert when you want something homemade without a lot of fuss.
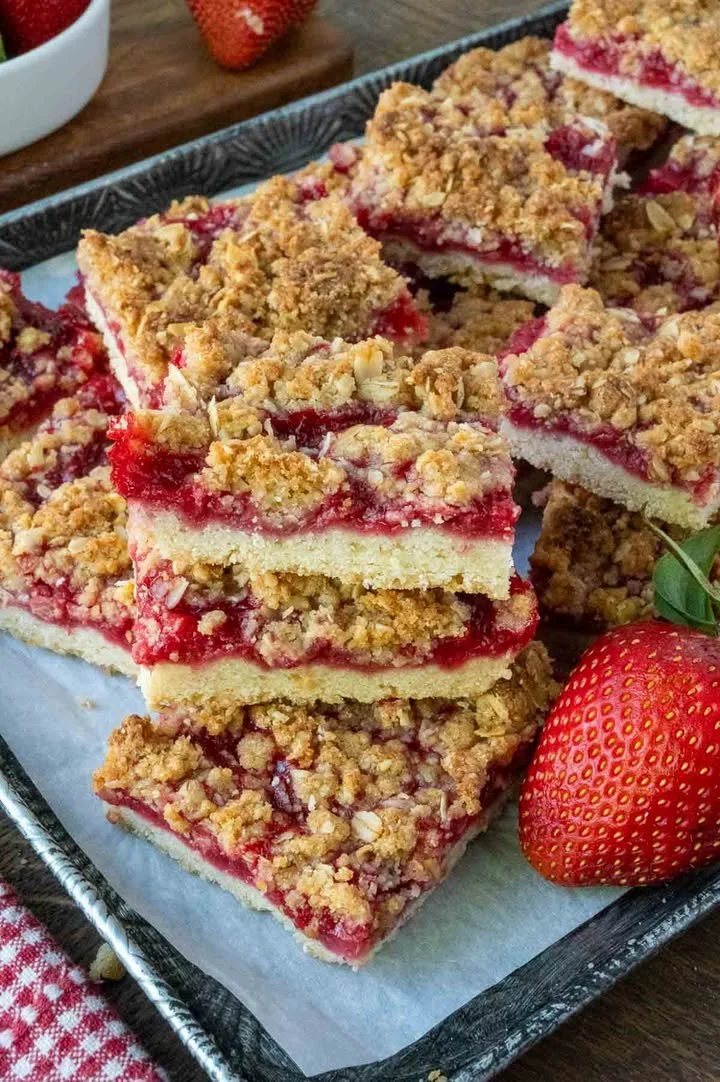
The texture is a big part of the appeal: the bottom bakes into a tender crust, the middle turns juicy and bright, and the top stays golden and craggy. They also slice neatly once cooled, which means they travel well and are easy to serve. If you like fruit desserts that feel a little more substantial than a standard cookie bar, this recipe delivers.
“These bars taste like the best part of a strawberry pie and a crumble, but they’re easier to make and even easier to share.”
How this recipe comes together
This recipe is all about layering. First, you’ll make a quick oat-and-flour mixture, then press part of it into the pan to form the crust. After that, the strawberries are tossed with a little sugar and lemon juice to boost their flavor and help the filling get glossy as it bakes. The remaining crumble goes on top, so every bite gets a mix of soft fruit and crisp topping.
If you enjoy baking bars with a creamy, fruit-forward vibe, the texture here is similar in spirit to strawberry cheesecake bars, but with a more rustic, crumbly finish. It’s a great choice when you want something that feels homemade and approachable.
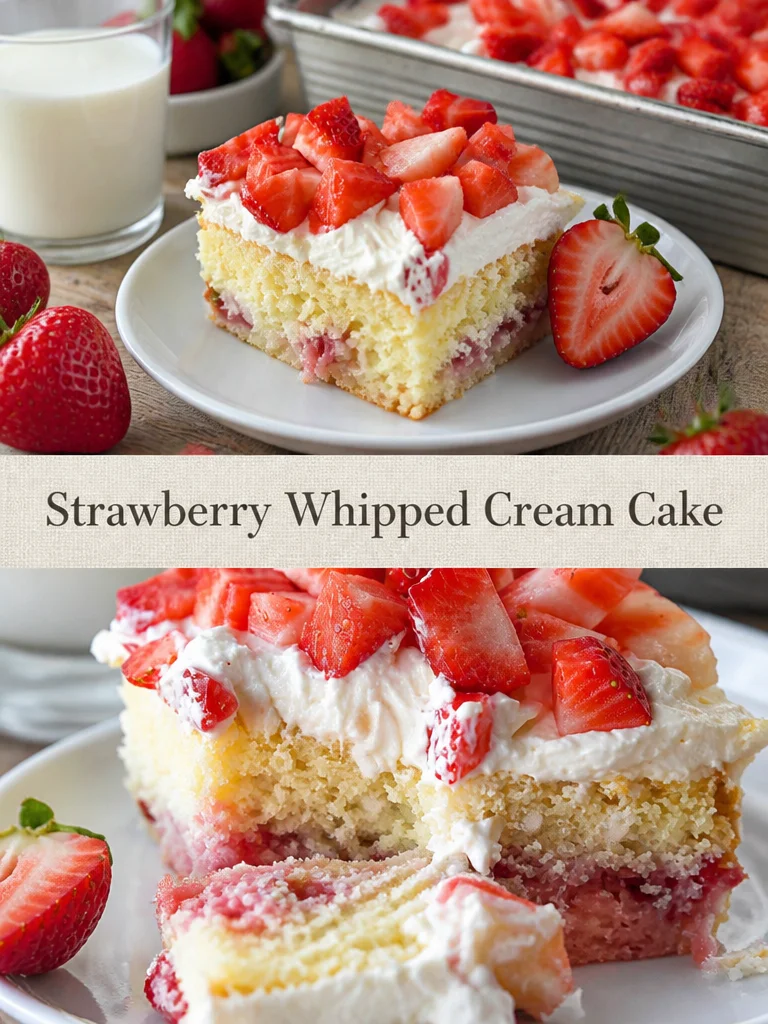
{image_template}
What you’ll need
- 1 cup all-purpose flour
- 1/2 cup rolled oats
- 1/2 cup brown sugar
- 1/2 cup butter, softened
- 1/2 teaspoon baking powder
- 1/4 teaspoon salt
- 2 cups fresh strawberries, hulled and sliced
- 2 tablespoons granulated sugar
- 1 tablespoon lemon juice
A few helpful notes: use fresh strawberries for the best texture, since frozen berries can release too much liquid. If your strawberries are very sweet, you can slightly reduce the granulated sugar. Salted butter can work in a pinch, but reduce the added salt a little.
Step-by-step instructions
- Heat the oven to 350°F (175°C). Grease and line an 8×8-inch baking dish for easy removal later.
- In a large bowl, stir together the flour, oats, brown sugar, baking powder, and salt.
- Cut in the softened butter until the mixture looks like coarse crumbs and starts to clump when pressed.
- Press half of the crumble mixture evenly into the bottom of the prepared pan.
- In a separate bowl, toss the sliced strawberries with the granulated sugar and lemon juice. Spread the berries over the crust.
- Sprinkle the remaining crumble mixture over the strawberries.
- Bake for 30 to 35 minutes, or until the top is golden brown and the fruit looks bubbly.
- Let the bars cool completely before slicing so the filling sets properly.
Serving suggestions
These bars are wonderful slightly warm, but they’re even neater and more satisfying once fully cooled. For a dessert-style serving, add a scoop of vanilla ice cream or a spoonful of lightly sweetened whipped cream. For brunch, serve them alongside coffee, tea, or a fresh fruit salad.
They also make a nice addition to a dessert tray because they hold their shape well. If you want a more polished presentation, dust the top lightly with powdered sugar right before serving. That small finishing touch gives them a bakery-style look with almost no effort.
Storage and reheating tips
Store leftover bars in an airtight container in the refrigerator for up to 4 days. Because the filling contains fresh fruit, chilling them is the safest option for longer freshness. If you’re stacking them, place parchment between layers to keep the crumble topping intact.
For freezing, wrap individual bars tightly and place them in a freezer-safe container or bag. They’ll keep well for about 2 months. Thaw overnight in the refrigerator before serving. If you like them slightly warm, reheat briefly in the microwave, but don’t overdo it or the fruit filling may become too loose.
Helpful cooking tips
Use butter that’s softened, not melted. Softened butter helps the crumble hold together while still baking into a tender, sandy texture. If the mixture feels too dry, press it together gently with your fingertips until it clumps.
Line the baking pan with parchment so the bars lift out cleanly. This is especially useful if you want tidy squares for sharing. Also, make sure the bars cool fully before cutting; otherwise the strawberry layer can slide and the edges won’t stay neat.
If your strawberries are especially juicy, let them sit with the sugar and lemon juice for a few minutes, then drain off a little excess liquid before spreading them on the crust. That helps keep the bottom from getting soggy.
Creative twists
You can easily adapt this recipe to match what you have on hand. Swap some of the strawberries for blueberries or raspberries for a mixed-berry version. A little orange zest in the filling adds a brighter citrus note, while a pinch of cinnamon in the crumble brings warmth.
For a richer topping, stir a handful of chopped almonds or pecans into the oat mixture before baking. If you need a gluten-free version, use a 1:1 gluten-free flour blend and certified gluten-free oats. You can also make them a little more dessert-like by adding white chocolate chips to the crumble, though I’d keep the amount modest so the berries still shine.
Common questions
Can I use frozen strawberries?
Yes, but fresh strawberries give the best texture. If you use frozen berries, thaw and drain them well first so the bars don’t turn watery.
Why did my bars fall apart when I cut them?
They likely needed more cooling time. Let the bars cool completely, and if possible, chill them briefly before slicing for cleaner edges.
Can I make these ahead of time?
Absolutely. These bars are a great make-ahead dessert because the flavor improves as they rest. You can bake them a day in advance and store them in the refrigerator until serving.
Do these need to be refrigerated?
Yes, because of the fresh fruit filling. Keep them chilled after they cool if you’re not serving them right away.
Conclusion
Strawberry Crumble Bars are the kind of recipe that feels easy enough for a weekday but special enough for guests. If you want another variation on the same cozy, fruit-forward idea, the original strawberry crumb bars inspiration is a helpful comparison point.