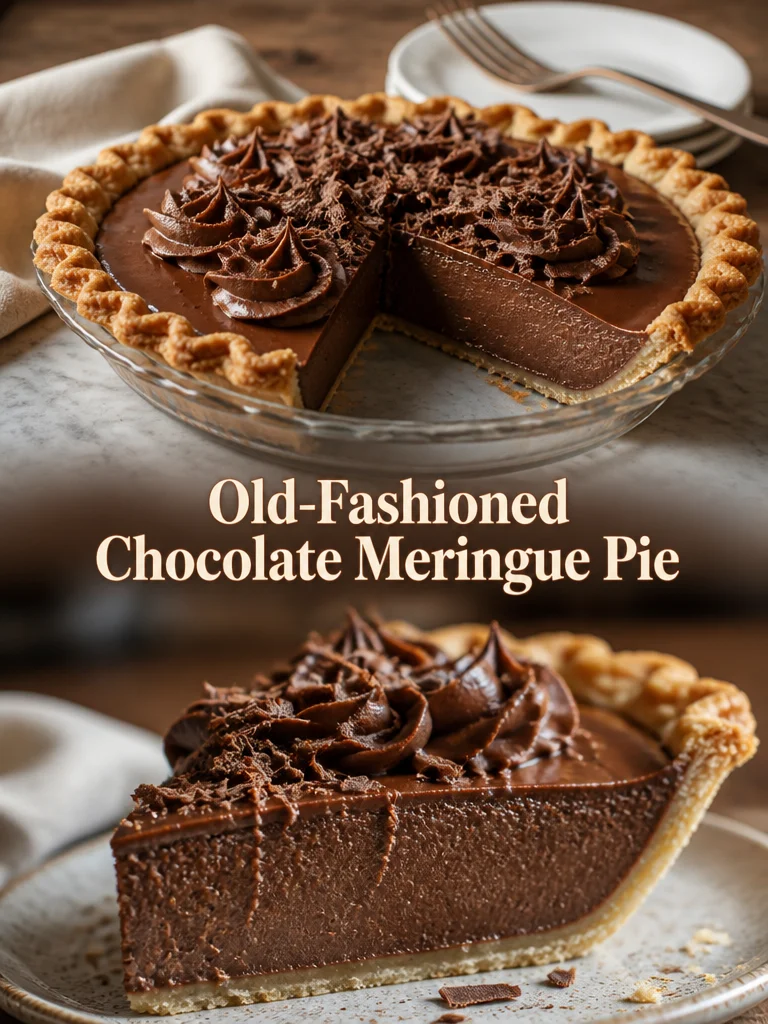
I still remember the first time I made this old‑fashioned chocolate meringue pie for a holiday dinner — the glossy, cloudlike meringue browned just enough to smell toasty marshmallow, and the chocolate filling had that nostalgic, pudding‑like richness. This recipe is straightforward, homey, and exactly the kind of dessert people request again and again: a pre‑baked crust filled with a cocoa‑thickened custard and capped with a golden meringue.
Why you’ll love this dish
This pie feels like a classic from grandma’s cookbook: simple pantry ingredients, a showy finish, and deep chocolate flavor without turning to tempering chocolate or fancy equipment. Make it when you want a nostalgic dessert that travels well to potlucks, pleases a crowd, or finishes a special Sunday dinner.
- Quick-ish: the filling cooks on the stovetop in 10–15 minutes.
- Budget‑friendly: basic staples (flour, cocoa, milk) deliver big flavor.
- Crowd‑pleaser: the soft chocolate base plus the light meringue appeals to kids and adults alike.
- Make‑ahead friendly: you can prepare the filling ahead and brown the meringue later for a fresher top.
“Rich, comfortable chocolate pudding in a crust with a meringue that’s impossibly light — everyone went back for seconds.” — home baker review
How this recipe comes together
This is an overview so you know what to expect before you start:
- Make the chocolate custard on the stovetop: butter, sugar, flour, cocoa, and milk are cooked until thick and bubbling.
- Pour the hot filling into a pre‑baked 9‑inch pie shell so it sets evenly.
- Whip the egg whites with sugar into a glossy meringue, then spread it over the hot filling, sealing it to the crust to prevent weeping.
- Bake briefly at moderate heat (or carefully broil) until the meringue is golden.
- Cool to room temperature, then chill so the filling fully sets before slicing.
{image_template}
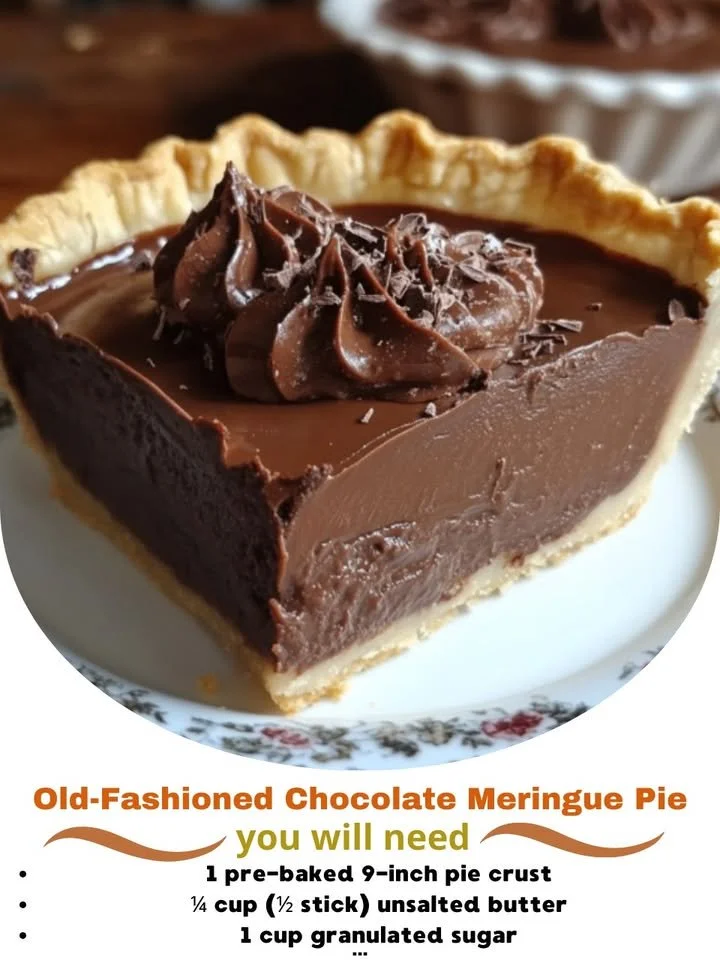
What you’ll need
- 1 pre-baked 9‑inch pie crust (store‑bought or homemade)
- 1/4 cup unsalted butter (can use salted; reduce added salt if using)
- 1 cup granulated sugar (divided between filling and meringue)
- 1/4 cup all‑purpose flour (thickener; cornstarch is a fine substitute — use 3 tablespoons cornstarch instead)
- 1/2 cup unsweetened cocoa powder (use natural or Dutch‑processed; flavor will vary slightly)
- 2 cups whole milk (can substitute 2% or a mix of milk and cream for richer filling)
- 3–4 large egg whites (for meringue) — see notes below on pasteurized eggs if concerned about raw egg whites
Notes: If you prefer a silkier, less grainy filling, sift the cocoa before using. For a deeper chocolate note, stir in 1–2 ounces of finely chopped bittersweet chocolate into the hot custard until melted.

How to prepare it
- Preheat: set your oven to 350°F (175°C) if it isn’t already — this is for browning the meringue later.
- Make the filling: in a medium saucepan, melt 1/4 cup unsalted butter over medium heat.
- Add dry ingredients: whisk in 1 cup granulated sugar, 1/4 cup flour, and 1/2 cup unsweetened cocoa powder until evenly combined and no dry streaks remain.
- Add milk: slowly pour in 2 cups whole milk while whisking to prevent lumps.
- Cook to thicken: keep the pan over medium heat and stir constantly. The mixture will thicken; continue until it reaches a full boil and thickens to a pudding consistency, about 4–6 minutes after it begins to bubble. Boiling briefly activates the flour to thicken the custard.
- Fill the crust: remove from heat and immediately pour the hot chocolate filling into the pre‑baked 9‑inch pie crust. Smooth the top so the meringue will adhere.
- Prepare the meringue: in a clean, dry bowl, beat 3–4 room‑temperature egg whites until foamy. Gradually add the remaining sugar (about 1/4–1/3 cup) while continuing to beat. Whip until glossy, stiff peaks form and the sugar has dissolved — rub a bit between your fingers; you should not feel gritty sugar.
- Top the pie: spread the meringue over the hot filling, making sure to seal the meringue at the crust edge so the filling doesn’t weep. Create peaks or swirls for a classic look.
- Brown the meringue: bake at 350°F (175°C) for 8–12 minutes, watching for a light golden color. For quicker browning, you can place the pie under a hot broiler for 30–60 seconds, watching closely to prevent burning.
- Cool: remove the pie and let it cool to room temperature (about 1 hour), then chill in the refrigerator for 2–3 hours to fully set before slicing.
Timing tips: total active time is roughly 30–40 minutes; chilling adds a few hours but can be done overnight for convenience.
Best ways to enjoy it
- Serve chilled slices with a dollop of whipped cream or a dusting of cocoa powder.
- Pair with espresso or a cup of strong tea to cut the sweetness.
- For a contrast in texture, top a slice with crushed toasted pecans.
- For a retro touch, serve with a scoop of vanilla bean ice cream on the side.
Plating idea: place a slice on a warmed plate, add a small quenelle of whipped cream, and finish with a few flakes of sea salt (if you used unsalted butter) to highlight the chocolate.
Keeping leftovers fresh
- Refrigerate: store covered in the refrigerator for up to 3 days. Meringue texture gradually softens, so consume sooner for best appearance.
- Do not freeze the assembled pie: freezing alters meringue texture and causes watery separation upon thawing. If you need to freeze, freeze the custard filling (cool completely) in an airtight container and freeze the crust separately. Thaw and assemble fresh meringue when ready to serve.
- Food safety: because the meringue contains egg whites, keep the pie chilled and discard after 3–4 days. If using pasteurized egg whites, food‑safety concerns are reduced but refrigeration is still required.
Pro chef tips
- Use room‑temperature egg whites — they whip up quicker and to greater volume.
- Make sure mixing bowls and beaters are grease-free; even a trace of fat prevents egg whites from whipping properly.
- Dissolve sugar into the egg whites gradually to avoid grainy meringue. A quick test: rub a bit between your fingers — it should feel smooth.
- Seal the meringue to the crust by pressing the meringue onto the edge of the pie shell; this slows down weeping (the weeping is when liquid seeps between filling and meringue).
- If the filling is lumpy, press it through a fine sieve while hot into the crust for an ultra-smooth finish.
- Don’t overbake the meringue; it only needs a light golden color. Overbaking dries it and makes it crumbly.
Creative twists
- Salted chocolate meringue: sprinkle flaky sea salt over the meringue before serving for a modern sweet‑salty contrast.
- Coffee‑infused filling: dissolve 1–2 teaspoons instant espresso into the milk for mocha notes.
- Coconut meringue: fold 1/4 cup toasted shredded coconut into the meringue for texture.
- Lighter version: use 2% milk and reduce sugar slightly; for a gluten‑free option, substitute 3 tablespoons cornstarch for the flour.
- Chocolate layer: stir 1–2 ounces chopped dark chocolate into the hot custard until melted for a richer, silkier filling.
Your questions answered
Q: Can I use cornstarch instead of flour to thicken the filling?
A: Yes. Use about 3 tablespoons cornstarch in place of 1/4 cup flour. Mix cornstarch with a bit of cold milk to make a slurry before adding to the hot mixture to avoid lumps.
Q: Is it safe to eat the meringue since it uses raw egg whites?
A: The meringue is baked until golden, and the brief oven time heats the whites enough to reduce food‑safety risk. If you’re concerned, use pasteurized egg whites — they whip and bake the same way.
Q: Why is my meringue weeping (liquid between the meringue and chocolate)?
A: Weeping can happen when the meringue isn’t sealed to the crust, when sugar is under‑dissolved, or when the pie is stored in humid conditions. Press the meringue onto the crust edge, dissolve the sugar fully while beating, and cool the pie on the counter briefly before refrigerating to reduce weeping.
Q: How long should I chill the pie before serving?
A: Chill at least 2–3 hours so the filling sets well. For best slicing, chill overnight.
Q: Can I brown the meringue with a kitchen torch instead of the oven?
A: Yes — a small culinary torch gives precise control and a pretty finish. Keep the torch moving to avoid burning any one spot.
If you want, I can format this into a printable recipe card with ingredient amounts grouped by component (filling vs meringue) or suggest a shopping list for the ingredients. Which would you prefer?