***Note: To discover all of the ingredients, look through each section of the cake. To make preparing the cake easier, they’re stated individually. To respond to the comments, yes, there are TWO cartons of pudding here (1 vanilla flavor, 1 banana flavored), and the icing is Cool Whip. ***
INGREDIENTS:
Cake
2 softened butter sticks
1 3/4 pound of sugar
2 egg whites + 3 eggs
3 tsp vanilla extract
3 cups flour (all-purpose)
3 1/2 teaspoons powdered baking soda
1 box instant sugar-free banana pudding mix (1.34 oz)
1 gallon of milk
Filling: Refrigerate the following ingredients until ready to assemble the cake (10 minutes).
1 box instant sugar-free vanilla pudding mix (1.34 oz)
a quarter gallon of skim milk
1-gallon Cool Whip (or whipped cream)
To apply layers using a brush: Combine the following ingredients:
1 tbsp condensed milk, sweetened
1 tablespoon of skim milk
You’ll also require the following items:
2-3 bananas, ripe yet not overripe
3 to 4 cups To make the icing, start by making the cake.
INSTRUCTION:
Preheat the oven to 350 degrees Fahrenheit. Preheat oven to 350°F. Line three 8-inch round pans with parchment paper just on the bottom. Lightly cream the butter and sugar together until light and creamy. One at a time beat in the eggs and egg whites. Blend in the vanilla extract until smooth.
Combine flour, baking powder, and pudding mix in a separate basin. In three consecutive additions, add to the wet components, mixing until just mixed. Make sure you don’t overmix!
Mix in the milk until everything is well blended. Divide the batter between the pans and pour it in. Bake for 22-25 minutes, or until the cake is brown and pulled away from the edges of the pans.
Allow 15 minutes for the cake to cool in the pan. Remove from pan after loosening. Allow cooling on a wire rack for another 1-2 hours.
Step 2: Start stacking.
Each cake should be leveled. Place the first layer of the cake on a cake plate. Brush with a bit of amount of the milk mixture.
On top of the cake, arrange banana slices. On top of the bananas, spread 1/3-1/2 of the filling mixture.
On top of the filling, place the next cake layer. Rep with the remaining milk mixture, packing, and final layer.
Frosting (Step 3)
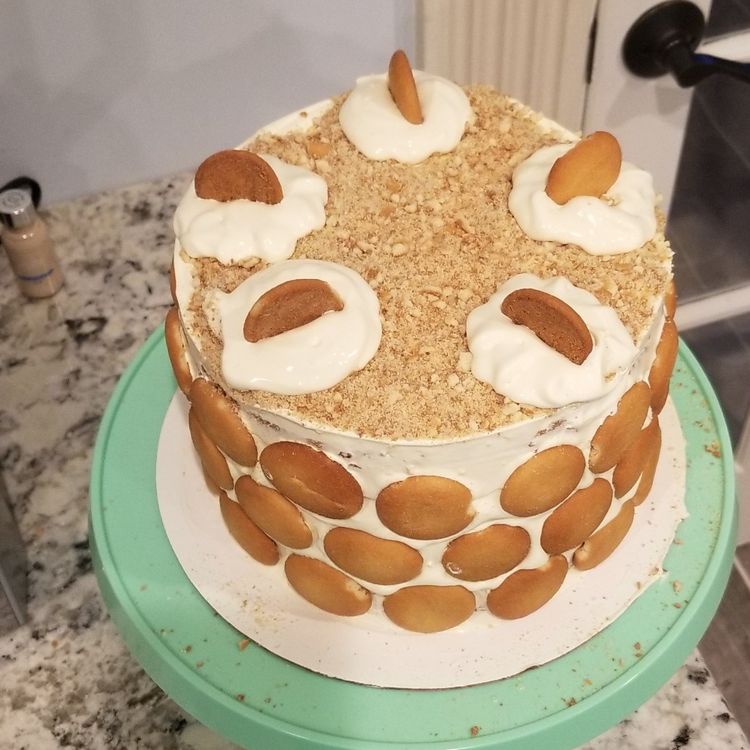
This is the most enjoyable part. Using Cool Whip, frost the cake and decorate as desired. I spread some crushed mini Nilla wafers on top. The wafers were then utilized along the sidewalls.
Whew! Although it appears to be hard, it was relatively simple to create. You could wish to sandwich some Nilla wafers between the layers as well if you’re feeling opulent and indulgent.
It’s critical to keep this cake refrigerated!! There are a lot of perishable components. Because you’ve been warned, I’m not responsible if you don’t refrigerate and become ill.
This may become a new family favorite. Although this isn’t a “good for you” cake, it was a very special occasion. It was a hit with everyone! The Nilla wafers were very popular with my nieces, who liked taking them off and eating them.