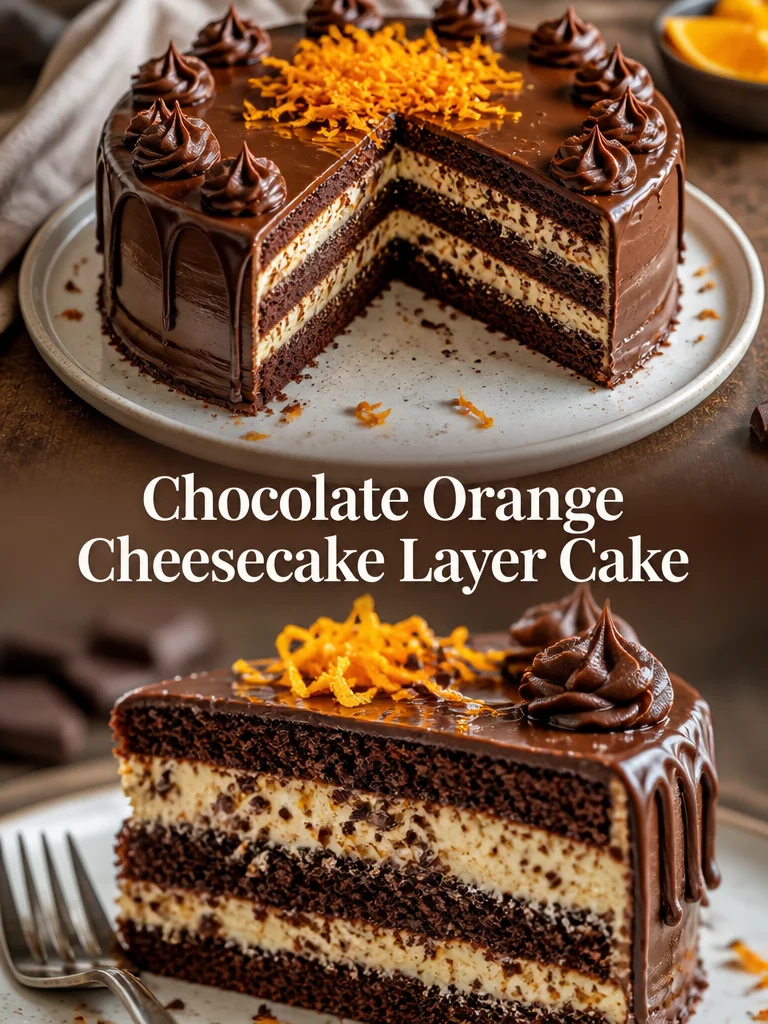
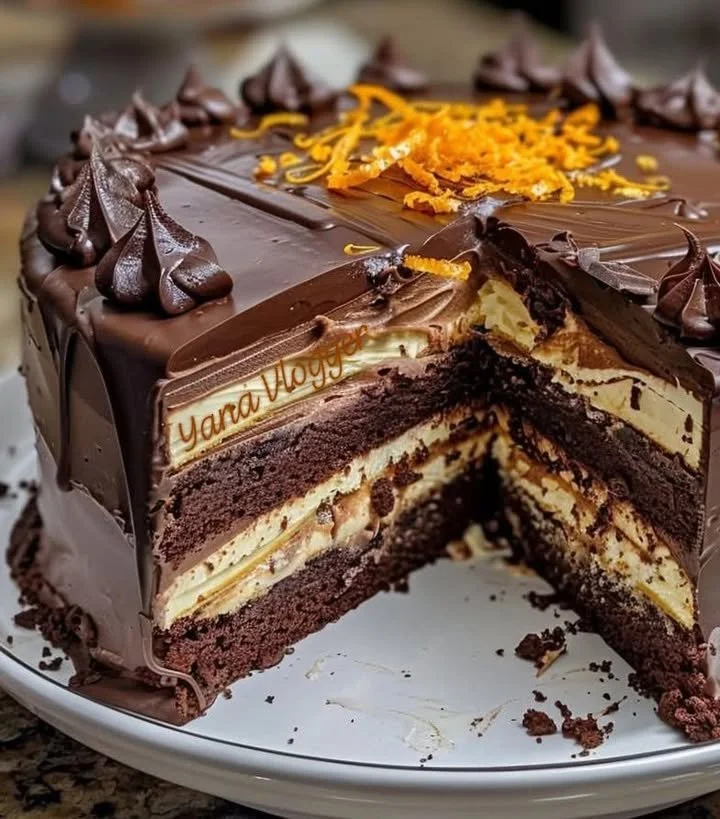
I first made this Chocolate Orange Cheesecake Layer Cake for a winter family gathering, and it disappeared faster than I could slice it. The bright, citrusy cheesecake layer cuts through the rich cocoa cake, creating a dessert that feels both festive and surprisingly easy to pull off. It’s the kind of showstopper you bring when you want something a little more refined than a standard layer cake—but without complicated techniques.
Why you’ll love this dish
This cake pairs two classics—chocolate and orange—with a light, whipped cheesecake middle. The result is a dessert that tastes decadent but isn’t heavy. It’s perfect for celebrations, holiday dinners, or when you want to impress guests with minimal fuss.
- Balanced flavors: bright orange zest and juice lift the deep chocolate.
- Textural contrast: tender chocolate sponge and airy cheesecake filling.
- Make-ahead friendly: it improves after chilling, so you can bake the day before.
- Crowd-pleaser: familiar flavors that appeal to kids and adults alike.
“A beautiful balance of citrus and cocoa — the cheesecake layer makes this feel special without the fuss.” — a family friend who requested it twice
The cooking process explained
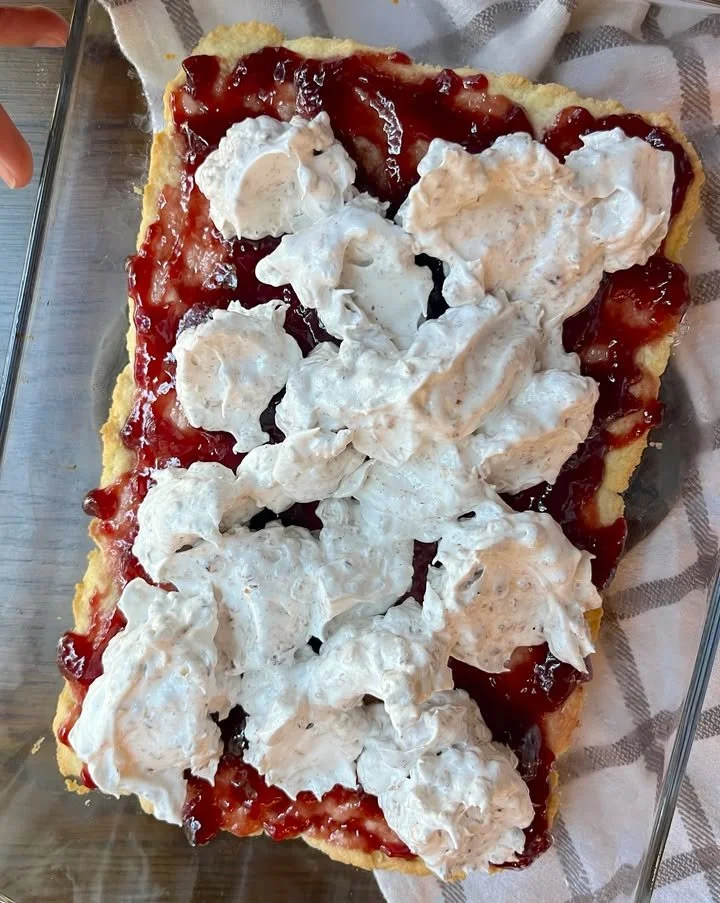
Before you bake, here’s the quick flow so you know what to expect: mix dry ingredients; add wet ingredients; stir in boiling water to bloom the cocoa and thin the batter; bake two 9-inch layers. While cakes cool, make a light orange-flavored cheesecake filling by combining softened cream cheese, powdered sugar, orange zest and juice, then folding in whipped heavy cream. Assemble, chill, and garnish with chocolate shavings and extra zest.
{image_template}
Gather these items
- 1 3/4 cups all-purpose flour (spoon and level for accuracy; cake flour can be used for a softer crumb)
- 2 cups granulated sugar
- 3/4 cup unsweetened cocoa powder (use Dutch-processed for a rounder chocolate flavor)
- 1 1/2 teaspoons baking powder
- 1 1/2 teaspoons baking soda
- 1 teaspoon salt
- 2 large eggs, room temperature
- 1 cup whole milk (full-fat gives better texture; but 2% will work)
- 1/2 cup vegetable oil (neutral oil; can substitute melted coconut oil)
- 2 teaspoons vanilla extract
- 1 cup boiling water (helps bloom the cocoa)
- 8 oz cream cheese, softened (full-fat is best)
- 1 cup powdered (confectioners’) sugar
- 1 teaspoon orange zest (plus 2 tablespoons for decoration)
- 1/4 cup fresh orange juice (bottled isn’t ideal — fresh is brighter)
- 1 cup heavy cream, cold (for whipping)
- 2 tablespoons chocolate shavings (for decoration)
- 2 tablespoons orange zest (for decoration)
Substitutions/notes:
- For a gluten-free version, use a 1:1 gluten-free flour blend but expect slightly different texture.
- To reduce sugar, cut the granulated sugar by 10–15% but taste the batter; sweetness balances the orange and cocoa.
- If you don’t have fresh oranges, use 2 tablespoons store-bought juice plus 1/2 teaspoon orange extract.

Step-by-step instructions
-
Preheat and prepare pans
- Preheat oven to 350°F (175°C). Grease and flour two 9-inch round cake pans. For easier release, line the bottoms with parchment circles.
-
Combine dry ingredients
- In a large bowl, whisk together flour, granulated sugar, cocoa powder, baking powder, baking soda, and salt until evenly mixed.
-
Add wet ingredients
- Add the eggs, milk, vegetable oil, and vanilla to the dry ingredients. Mix on low speed or stir with a spatula until just combined. Don’t overmix.
-
Stir in boiling water
- Carefully stir in the cup of boiling water. The batter will thin — this is expected and will produce a moist crumb and deeply flavored chocolate.
-
Bake
- Divide batter evenly between the two prepared pans. Bake 30–35 minutes, rotating halfway through if your oven runs hot. Cakes are done when a toothpick inserted in the center comes out with a few moist crumbs (not wet batter).
-
Cool layers
- Let the cakes cool in the pans for 10 minutes, then run a knife around the edges and invert onto wire racks. Peel off parchment and cool completely before assembling.
-
Make the cheesecake layer
- In a medium bowl, beat the softened cream cheese and powdered sugar until smooth and lump-free. Add 1 teaspoon orange zest and 1/4 cup fresh orange juice. Mix until combined and smooth.
-
Whip the cream
- In a chilled bowl, whip the heavy cream to stiff peaks. Be careful — stiff peaks mean the cream holds a firm tip when the whisk is lifted. If you stop at soft peaks, the filling will be looser.
-
Fold and assemble
- Fold the whipped cream gently into the cream cheese mixture until homogeneous and airy. Place one cooled cake layer on a serving plate. Spread the cheesecake filling evenly over the first layer. Top with the second layer and press gently.
-
Garnish and chill
- Decorate the top with chocolate shavings and the additional orange zest. Chill the assembled cake in the refrigerator for at least 2 hours so the filling firms and flavors meld.
-
Serve
- Remove from fridge 10–15 minutes before slicing for easier cuts. Use a hot, clean knife for smooth slices.
Best ways to enjoy it
- Slice thinly: it’s rich—smaller slices let guests sample other desserts.
- Pair with coffee, an espresso martini, or a dessert wine like Moscato d’Asti.
- For a brunch twist, serve with lightly sweetened whipped cream and a few fresh orange segments.
- Plate with a drizzle of warm chocolate ganache for parties.
How to store & freeze
- Refrigerate: Store covered in the refrigerator for up to 3–4 days. Because the filling contains dairy and whipped cream, don’t leave slices at room temperature for more than 2 hours.
- Freeze layers: For longer storage, freeze the unfilled cake layers wrapped tightly in plastic and foil for up to 3 months. Thaw in the fridge overnight before assembling.
- Freeze assembled cake: You can freeze the whole assembled cake (well wrapped) for up to 1 month. Thaw in the refrigerator overnight. Note: texture of whipped filling can change slightly after freezing.
- Reheating: Serve chilled — bringing to room temperature for 10–15 minutes improves flavor without reheating.
Helpful cooking tips
- Use room-temperature eggs and milk to help the batter emulsify and rise evenly.
- Blooming the cocoa: The boiling water blooms the cocoa powder, intensifying chocolate flavor. It also thins the batter so don’t worry about a runny batter.
- Don’t overbeat the cream cheese: Overbeating can incorporate air and make the filling too loose. Mix until smooth, then fold in whipped cream gently.
- Test for doneness: Rely on a toothpick and pull-back from the pan edges rather than exact bake time.
- Even layers: For uniform layers, weigh the batter into pans or use a measuring cup to divide equally.
- Clean cuts: Chill and use a knife warmed under hot water and wiped dry between slices.
Creative twists
- Chocolate ganache top: Pour a thin layer of ganache over the top for a glossy finish.
- Orange liqueur: Add 1–2 tablespoons of Grand Marnier or Cointreau to the cheesecake filling for an adult twist.
- Dark chocolate: Use 1/2 cup dark chocolate shavings folded into the filling for texture.
- Mascarpone swap: Replace cream cheese with mascarpone for a silkier, less tangy filling.
- Vegan/Dairy-free: Use a dairy-free cream cheese and coconut cream whipped to stiff peaks; swap milk for a plant-based milk and use a flax egg (1 tbsp ground flax + 3 tbsp water per egg). Baking results will vary.
Your questions answered
Q: Can I make this cake a day ahead?
A: Yes. Assemble the cake and keep it chilled. It actually benefits from a few hours of rest. Store covered in the fridge up to 24 hours before serving.
Q: Why does the batter use boiling water?
A: The boiling water blooms the cocoa powder, releasing flavor and creating a moist, tender crumb. The thin batter is normal.
Q: My cheesecake filling is runny — how do I fix it?
A: Chill it for 15–20 minutes; sometimes the cream cheese warms during mixing. If still loose, add a small amount (1–2 tablespoons) of sifted powdered sugar and whip briefly, or fold in a bit more whipped cream that was whipped to firm peaks.
Q: How many does this serve?
A: A two-layer 9-inch cake serves about 12–16 slices, depending on how large you cut them.
Q: Is this safe to leave out at room temperature?
A: Because the filling contains cream and cream cheese, do not leave slices out for more than 2 hours (1 hour if room temperature is above 90°F/32°C). Refrigerate promptly.
Q: Can I swap sour cream or Greek yogurt in the cake batter?
A: You can add up to 1/2 cup sour cream or Greek yogurt in place of part of the milk for extra moisture, but reduce the milk slightly to keep batter consistency similar.
If you want, I can format a printable recipe card version with ingredient measurements on one side and the steps on the other, or give a timeline for prepping this cake in one afternoon. Which would help you most?