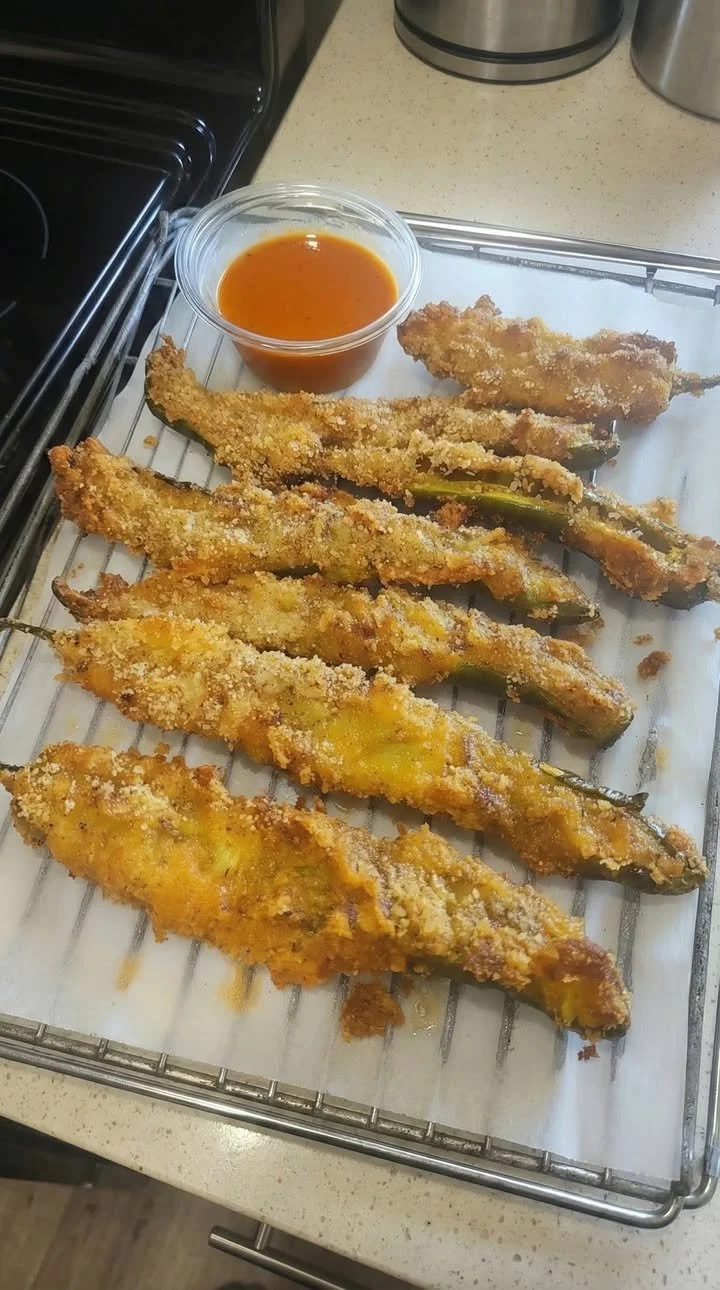
My first bite of fried green chile with beer batter and panko was all crunch, heat, and that satisfying little pull of tender chile underneath. It’s the kind of snack or side dish that feels a bit indulgent but is actually very straightforward to make at home. If you’ve got green chiles and a bottle of beer in the fridge, you’re already halfway there.
Why you’ll love this dish
This recipe hits a sweet spot between comfort food and bar-style appetizer. The beer batter gives the chile a light, crisp coating, while the panko breadcrumbs add extra crunch that regular batter alone can’t quite match. Inside, the chile stays soft and flavorful, with just enough heat to keep things interesting.
It’s also a practical recipe, which is one reason people search for it. You only need a short ingredient list, and the whole thing comes together quickly once the oil is hot. That makes it a smart choice for game day, brunch spreads, casual dinners, or when you want a bold side to serve with burgers, tacos, or grilled meats.
“Crunchy on the outside, tender and peppery inside — this is the kind of fried chile that disappears fast. It feels restaurant-worthy, but it’s simple enough for a home cook to pull off without stress.”
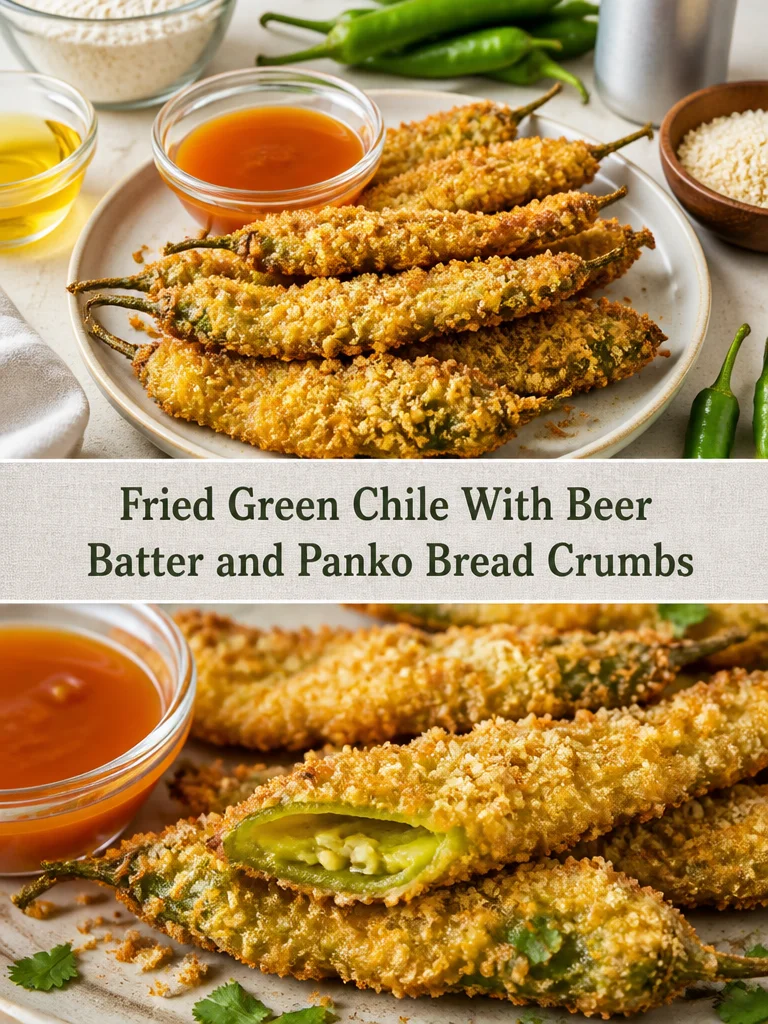
Preparing Fried Green Chile With Beer Batter and Panko Bread Crumbs
This recipe is all about balance: hot oil, a smooth beer batter, and a final panko coating that fries up golden and crisp. The chiles are dipped first in batter, then rolled in breadcrumbs so they hold their texture during frying. Once they hit the oil, they only need a few minutes to turn deeply golden.
If you’ve never fried chiles before, don’t worry. The process is simple, but a few small details matter: keep the batter smooth, make sure the oil is properly heated, and fry in batches so the coating stays crisp. The result is a crunchy, savory chile that’s best served immediately.
{image_template}
Ingredients
What you’ll need
- 4 green chiles
- 1 cup all-purpose flour
- 1 cup beer
- 1 cup panko bread crumbs
- Salt, to taste
- Oil for frying
A few quick notes:
- Use a beer you actually like drinking; a light lager or pale beer works well and won’t overpower the chile flavor.
- Panko is the secret to that extra-crisp crust, so don’t swap it unless you need to.
- If your green chiles are large, you may want to cut them in halves or quarters for easier frying and serving.
Directions
- Heat the oil in a deep frying pan over medium-high heat until it’s ready for frying. The oil should be hot but not smoking.
- In a mixing bowl, whisk together the flour, beer, and salt until the batter is smooth and free of lumps.
- Dip each green chile into the batter, coating it well and letting any excess drip off.
- Roll the battered chile in the panko breadcrumbs, pressing gently so the crumbs stick.
- Carefully lower the chiles into the hot oil and fry until they’re golden brown and crisp, about 3 to 4 minutes.
- Remove the chiles with a slotted spoon and drain them on paper towels.
- Serve them hot while the coating is at its crunchiest.
Best ways to enjoy it
These fried chiles are at their best right out of the fryer, when the panko is crisp and the inside is still tender. Serve them as an appetizer with ranch, chipotle mayo, or a cool cilantro-lime dip to balance the heat. They also work really well alongside Mexican-inspired meals like enchiladas, tacos, grilled chicken, or carne asada.
For plating, keep it simple: stack them on a warm platter, add a sprinkle of flaky salt, and tuck in a few lime wedges. If you want to make them look a little more polished, scatter chopped herbs over the top or serve them on a bed of shredded lettuce with a dipping sauce in the center.
Storage and reheating tips
Fried chiles are best eaten immediately, but leftovers can still be saved. Let them cool completely, then store them in an airtight container in the refrigerator for up to 2 days.
To reheat, use an oven or air fryer so the coating can crisp back up. A 375°F oven for about 8 to 10 minutes usually works well. Avoid microwaving if you can, since it softens the breading and makes the crust soggy.
Freezing is not ideal for this recipe after frying, because the coating can lose its texture. If you need to prep ahead, it’s better to bread the chiles and fry them fresh. For food safety, refrigerate leftovers promptly and don’t leave them at room temperature for more than 2 hours.
Tricks for success
A few small details can make a big difference here:
- Keep the beer batter smooth, but don’t overmix it. A few quick whisking strokes are enough.
- Let excess batter drip off before coating with panko so the crust doesn’t get too thick.
- Fry in small batches to maintain oil temperature and prevent soggy breading.
- Use a slotted spoon or spider to move the chiles carefully without tearing the coating.
- Drain on paper towels or a wire rack so the bottoms stay crisp.
- Taste the batter before frying and adjust the salt if needed.
If you’re new to frying, test one chile first. That gives you a chance to check the oil temperature and adjust before cooking the rest.
Creative twists
There are lots of easy ways to make this recipe your own:
- Spicy version: Add a pinch of cayenne or smoked paprika to the batter.
- Cheesy upgrade: Slip a little melted cheese or a thin slice of cheese inside the chile before battering.
- Gluten-free variation: Use a gluten-free flour blend and gluten-free panko-style crumbs.
- Lighter option: Air fry the breaded chiles after lightly spraying them with oil, though the texture won’t be quite the same as deep-fried.
- Extra-savory crust: Mix grated parmesan into the panko for a richer finish.
- Regional style: Serve with chile con queso or salsa verde for a more Southwestern feel.
Helpful answers
Can I make these without beer?
Yes. You can replace the beer with sparkling water or club soda for a similar light batter. The flavor will be a little milder, but the crust will still fry up nicely.
What kind of green chiles work best?
Medium to large green chiles with sturdy walls work best. Hatch-style chiles are a great choice when they’re in season, but Anaheim or similar mild green chiles also work well.
How do I keep the coating from falling off?
The key is to let the excess batter drip off before rolling the chile in panko, and to make sure the oil is hot enough before frying. If the oil is too cool, the coating can absorb too much fat and slip off.
Can I prep these ahead of time?
You can prep the chiles and mix the batter a short time ahead, but for the best texture, bread and fry them just before serving. If they sit too long after breading, the crust can soften.
Are these very spicy?
That depends on the chiles you use. Some green chiles are mild, while others bring more heat. If you want a gentler version, choose milder chiles and remove more of the seeds and inner membranes before frying.