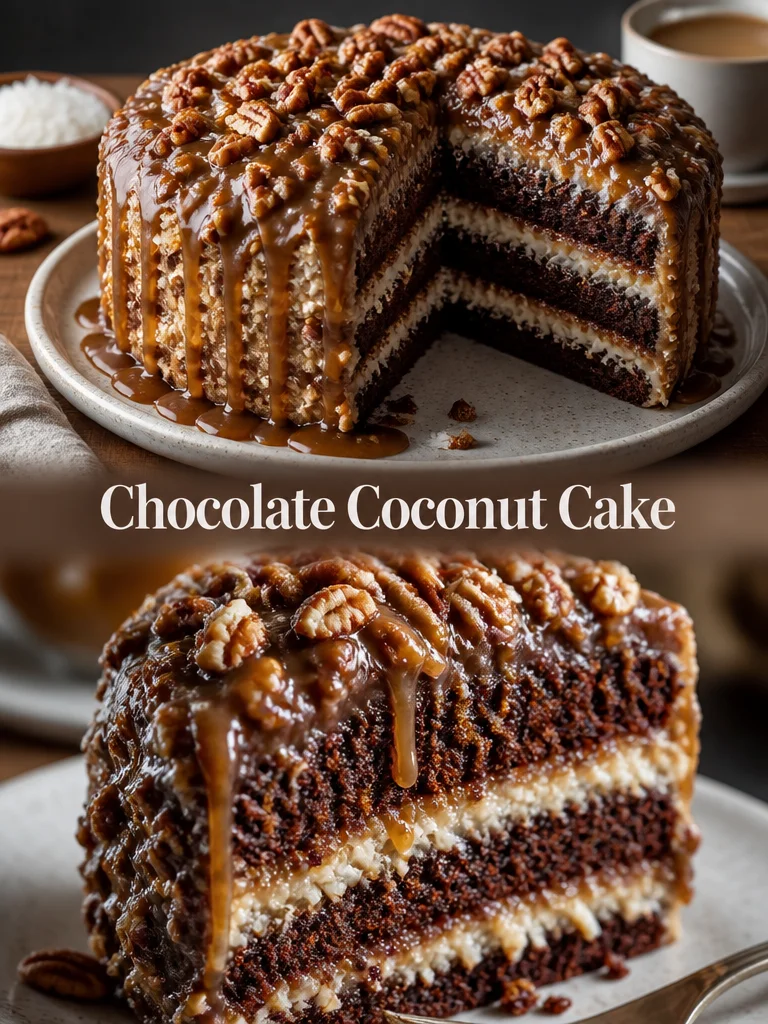
I first made this chocolate coconut cake on a rainy weekend and it quickly became the dessert everyone asked for again. It’s a simple, homey cake: a tender chocolate sponge split and filled with a creamy coconut filling, finished with a glossy dark chocolate sauce. It’s the kind of cake that works for a casual family Sunday, a potluck, or when you want a dessert that looks special but doesn’t require fussing with multiple components.
Why you’ll love this dish
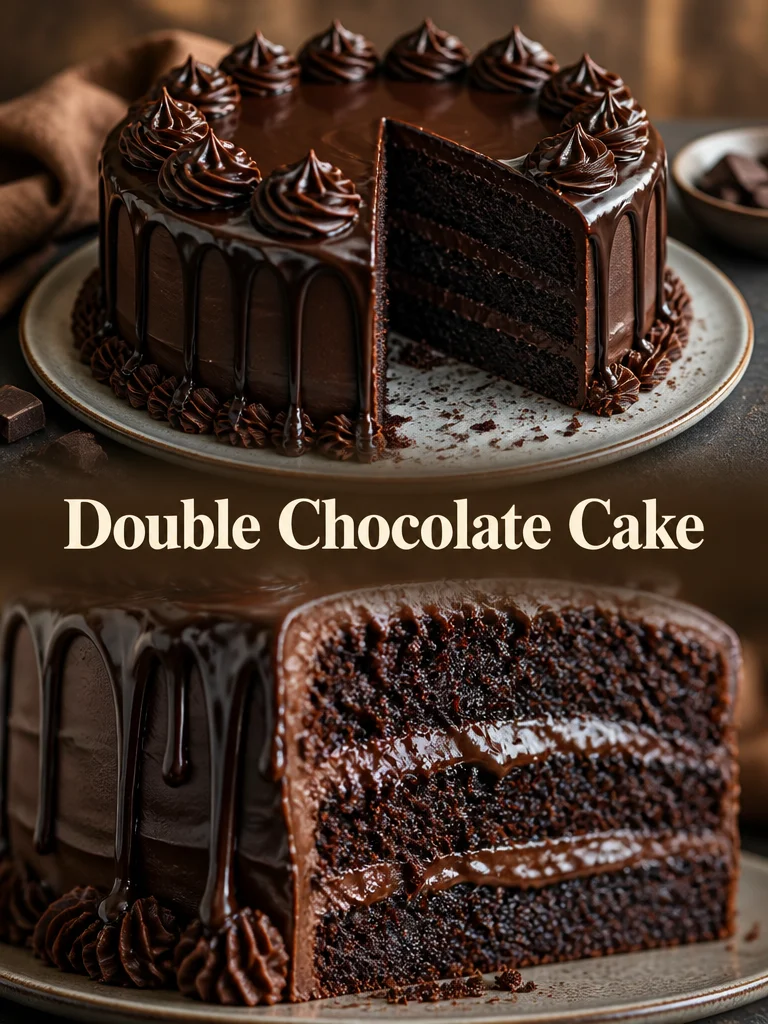
This cake balances familiar flavors—rich chocolate and toasty coconut—with straightforward technique. The sponge is moist thanks to oil and milk, the coconut cream adds texture and tropical warmth, and a warm dark-chocolate sauce unites everything for a glossy, decadent finish.
- Quick to mix and bake: no separate butter-cream preparation.
- Budget-friendly: pantry staples and one 22–24 cm pan.
- Kid- and guest-approved: chocolate always scores high.
- Make-ahead friendly: chilling for a few hours improves the texture and flavor.
"I made this for a family dinner and everyone loved the contrast of the creamy coconut and the warm chocolate glaze. Easy to follow and perfect for a celebration without stress."
How this recipe comes together
This recipe is straightforward and logical:
- Whisk eggs and sugar until light.
- Mix in milk and oil for moisture.
- Fold dry ingredients (cocoa, flour, baking powder, vanilla) and bake a single sponge.
- Make a quick stovetop coconut custard with cornstarch, then stir in shredded coconut.
- Warm a cocoa-milk chocolate sauce and melt in dark chocolate and butter.
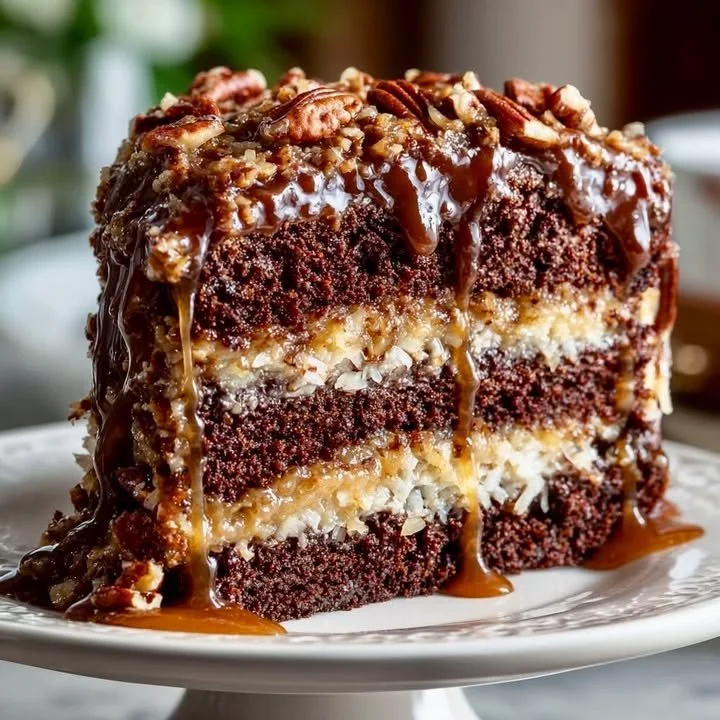
- Slice the cooled cake horizontally, fill with coconut cream, top, and pour the warm sauce over it.
- Chill a couple of hours to let the layers settle and the sauce set slightly.
{image_template}
What you’ll need
- 3 eggs (room temperature helps with volume)
- 1 cup granulated sugar (for the batter)
- 1 cup milk (for the batter; see notes)
- 1/2 cup vegetable oil
- 2 tablespoons cocoa powder (for the sponge)
- 2 cups all-purpose flour
- 1 packet baking powder (about 1 tablespoon; check packet size)
- 1 packet vanilla (or 1 teaspoon vanilla extract)
- 1 cup shredded coconut (sweetened or unsweetened; toasted for extra flavor)
- 2 tablespoons granulated sugar (for the coconut cream)
- 1 tablespoon cornstarch (thickener for coconut cream)
- 1 tablespoon butter (for coconut cream)
- 1 cup milk (for the chocolate sauce)
- 1 tablespoon cocoa powder (for the chocolate sauce)
- 2 tablespoons sugar (for the chocolate sauce)
- 80 g dark chocolate (roughly 2.8 oz; 60–70% cocoa works nicely)
- 1 tablespoon butter (for the chocolate sauce)
Substitutions/notes: swap the vegetable oil for light olive oil or melted coconut oil. If you only have vanilla extract, use 1 tsp. For dairy-free, use plant milk (almond/soy/oat) and dairy-free butter and chocolate.

How to prepare it
- Preheat the oven to 170°C (about 340°F). Line a 22–24 cm (9-inch) cake pan with parchment.
- Beat the 3 eggs with 1 cup sugar until pale and slightly thickened—about 3–5 minutes by hand or 2–3 with a mixer.
- Add 1 cup milk and 1/2 cup oil. Mix until combined.
- Sift in 2 tablespoons cocoa powder, 2 cups flour, 1 packet baking powder, and 1 packet vanilla. Fold gently until just combined; avoid overmixing.
- Pour batter into the prepared pan and level the top. Bake at 170°C for 30–35 minutes. Test with a toothpick: it should come out clean or with a few moist crumbs.
- While the cake bakes, make the coconut cream: whisk 1 cup milk, 2 tablespoons sugar, and 1 tablespoon cornstarch in a small saucepan until smooth. Heat over medium, stirring constantly, until it thickens to a custard consistency. Remove from heat, stir in 1 tablespoon butter and 1 cup shredded coconut. Let cool.
- Make the chocolate sauce: heat 1 cup milk, 1 tablespoon cocoa powder, and 2 tablespoons sugar in a saucepan until it’s nearly boiling. Remove from heat and stir in 80 g chopped dark chocolate until melted. Add 1 tablespoon butter and stir until glossy.
- Cool the cake completely. Slice horizontally into two layers using a serrated knife.
- Spread the coconut cream evenly over the bottom layer. Place the top layer back on.
- Pour the warm (not scalding) chocolate sauce over the top and let it drip down the sides.
- Optionally scatter additional shredded coconut, chocolate shavings, or chopped nuts on top.
- Chill the assembled cake in the refrigerator for 2–3 hours to let flavors meld and the sauce set.
Tip: when making the sauce, remove it from heat before adding the chocolate to prevent seizing. If the batter seems thick, a splash more milk will loosen it.
Best ways to enjoy it
- Serve slices slightly chilled or at cool-room temperature so the chocolate is set but soft.
- Pair with a dollop of whipped cream or a scoop of vanilla ice cream for contrast.
- Add fresh berries (raspberries or strawberries) for acidity that cuts the richness.
- For a café-style plate, drizzle extra chocolate sauce artistically and sprinkle toasted coconut flakes on the plate edge.
Storage and reheating tips
- Refrigerate: store in an airtight container or covered with plastic wrap. Keeps well for 2–3 days.
- Freezing: wrap individual slices tightly in plastic and foil; freeze up to 2 months. Thaw overnight in the refrigerator.
- Reheating: bring slices to room temperature before serving; you can warm a slice briefly (10–15 seconds) in the microwave to soften the chocolate slightly—watch carefully to avoid melting the coconut cream filling.
- Food safety: because the cake contains milk and eggs, always keep refrigerated if not eaten within 2 hours at room temperature.
Helpful cooking tips
- Room-temperature eggs: they incorporate air better, giving a lighter crumb.
- Don’t overmix the batter once flour is added—overdeveloped gluten makes a denser cake.
- Use a serrated knife for clean horizontal slicing; chill the cake briefly first if it’s too soft.
- Toast shredded coconut in a dry skillet for 3–4 minutes until golden to intensify flavor.
- If the chocolate sauce thickens too much while cooling, gently reheat over a double boiler or microwave in 10-second bursts, stirring between bursts.
Creative twists
- Tropical boost: fold a handful of crushed pineapple (drained) into the coconut cream for a piña-colada twist.
- Nutty crunch: sprinkle toasted chopped almonds or macadamias between the layers.
- Citrus lift: add a teaspoon of orange zest to the chocolate sauce for a bright lift.
- Vegan version: replace eggs with flax eggs (3 tbsp ground flax + 9 tbsp water), use plant milk, vegan butter, and dairy-free chocolate; note texture will differ slightly.
- Gluten-free: swap the flour for a 1:1 gluten-free flour blend and add a teaspoon of xanthan gum if your blend lacks it.
Your questions answered
Q: How long does this recipe take start to finish?
A: Active prep is about 30–40 minutes (including making the creams and sauce). Baking and cooling take another 1.5–2 hours, plus a 2–3 hour chill for best flavor. Plan for about 4 hours total if you want the cake fully rested.
Q: Can I make components ahead of time?
A: Yes. The sponge can be baked a day ahead and wrapped. Coconut cream can be made and refrigerated; bring it to room temperature and stir before using. Gently rewarm chocolate sauce before pouring if it’s chilled.
Q: My cake sank a little in the middle—why?
A: Possible causes: underbaked center, oven temperature fluctuations, or too much leavening. Use an oven thermometer to verify temperature and test doneness with a skewer.
Q: How do I prevent the chocolate sauce from seizing?
A: Remove the milk mixture from heat before adding chopped chocolate. Stir and let residual heat melt the chocolate. If sauce thickens too fast, add a teaspoon of warm milk and stir.
Q: Can I make this in two smaller pans instead of one and slicing?
A: Yes. Divide batter between two 20 cm pans and reduce baking time—start checking at 20–25 minutes. Layering is then immediate and easier.
Q: Any allergy-friendly suggestions?
A: For nut allergies, avoid adding nuts and use certified nut-free chocolate. For dairy allergies, substitute plant-based milk and butter and choose dairy-free chocolate.
If you’d like, I can convert this recipe to U.S. cups/weights with precise packet-to-teaspoon conversions, or create a printable recipe card you can paste into WordPress. Which would help you most?