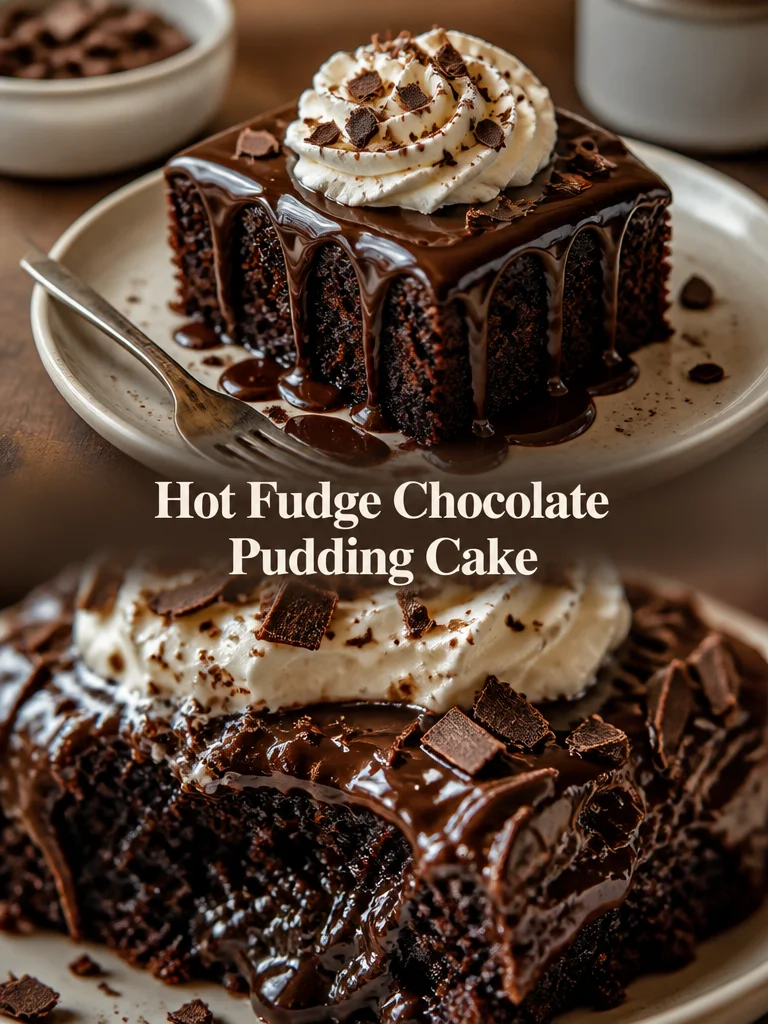
I first made this Hot Fudge Chocolate Pudding Cake on a rainy Saturday when I wanted something quick, chocolatey, and slightly nostalgic. The top bakes into a soft, cakey layer while a molten, hot-fudge sauce forms beneath — the contrast is what keeps people coming back. It’s one of those desserts that looks indulgent but comes together from pantry staples and a little hot water.
Why you’ll love this dish
This pudding-cake hybrid gives you deep chocolate flavor and a homemade hot fudge sauce with almost no fuss. It’s fast to prep, uses ingredients most kitchens already have, and serves reliably warm and comforting — perfect for weeknights, potlucks, or when you need a last-minute dessert that feels special.
“Silky sauce under a tender chocolate cake — my family called it ‘restaurant-level’ even though it took under 10 minutes to mix.” — a reader’s quick review
Reasons to try it:
- Minimal hands-on time: the oven does the magic.
- Budget-friendly: simple pantry ingredients create an impressive finish.
- Crowd-pleaser: kids and adults tend to fight over the warm sauce.
- Flexible: add nuts, espresso powder, or swirl with peanut butter for variations.
Step-by-step overview
You’ll start by whisking the dry ingredients together, then stir in the milk, melted butter, and vanilla to make a thick batter. Pour that into a greased dish, sprinkle chopped nuts if you like, then top with a mix of brown sugar and cocoa. The key move: pour hot water across the top and do not stir — that lets the heavier batter float and the sugar sink to form a molten layer during baking. In the oven for about 30–35 minutes, the top sets while the bottom becomes lush hot-fudge sauce.
{image_template}
What you’ll need
- 1 cup all-purpose flour
- 2/3 cup granulated sugar
- 1/4 cup unsweetened cocoa powder (for the batter)
- 2 tsp baking powder
- 1/4 tsp salt
- 1/2 cup milk (whole milk gives best richness; use unsweetened almond or oat for dairy-free)
- 2 tbsp melted butter (or neutral oil for dairy-free)
- 1 tsp vanilla extract
- 1/2 cup chopped nuts (optional; walnuts or pecans recommended)
- 3/4 cup brown sugar (for the topping/sauce)
- 1/4 cup cocoa powder (for the topping/sauce)
- 1 3/4 cup hot water (pouring hot is essential to form the sauce)
Ingredient notes:
- For gluten-free: try a 1:1 gluten-free all-purpose flour blend. Results vary by blend; you may need a touch more baking powder.
- For extra depth: add 1 tsp instant espresso powder to the dry mix.
- If you prefer less sweet sauce, reduce the brown sugar to 2/3 cup.
How to prepare it
- Preheat your oven to 350°F (175°C). Grease a 8×8-inch or similar-size baking dish.
- In a mixing bowl, whisk together 1 cup flour, 2/3 cup sugar, 1/4 cup cocoa powder, 2 tsp baking powder, and 1/4 tsp salt until evenly combined.
- Stir in 1/2 cup milk, 2 tbsp melted butter, and 1 tsp vanilla until you have a smooth, thick batter. Scrape the bowl so there are no dry pockets.
- Spread the batter into the prepared dish in an even layer. Sprinkle 1/2 cup chopped nuts over the top if using.
- In a separate small bowl, mix 3/4 cup brown sugar with 1/4 cup cocoa powder. Evenly sprinkle this mixture over the batter.
- Carefully pour 1 3/4 cup hot (near-boiling) water over the entire surface. Do not stir — the layers will sort themselves during baking.
- Bake for 30–35 minutes. You want the cake to rise and the edges to look set; the center will be slightly jiggly but not raw.
- Let the dish cool 10–15 minutes so the sauce thickens slightly. Serve warm, scooping cake with the hot fudge sauce from the bottom.
Baker’s tips inside the steps: if your oven runs hot, check at 25 minutes. A glass dish may need a minute or two more than metal.
Best ways to enjoy it
- Serve warm with a scoop of vanilla ice cream that will melt into the hot fudge.
- Add whipped cream and extra chopped nuts for crunch.
- Spoon into bowls and drizzle with caramel or espresso for an adult twist.
- Pair with a cup of strong coffee or a milkshake to balance the richness.
Presentation idea: scoop into shallow bowls and garnish with a few sea salt flakes and a mint leaf for contrast.
Storage and reheating tips
- Refrigeration: Cool completely, then cover and store in the fridge for up to 3–4 days. The sauce will firm up when cold.
- Reheating: Warm individual portions in the microwave for 20–40 seconds, or reheat the whole dish in a 325°F oven until heated through. Add a splash of milk before reheating if the pudding seems dry.
- Freezing: Freeze baked portions in airtight containers for up to 2 months. Thaw overnight in the fridge and reheat gently.
- Food safety: Do not leave the pudding at room temperature for more than 2 hours. Use within safe refrigeration windows.
Helpful cooking tips
- Use hot water: That’s the trick. Hot water dissolves the brown sugar and lets it sink, forming the sauce under the cake layer.
- Don’t stir after pouring: Stirring will mix the layers and prevent the pudding effect.
- Pan size matters: An 8×8-inch dish works well; a much larger dish will make a thinner cake and less sauce.
- Check doneness by touch: The edges should be set and spring back lightly; the center can be slightly soft.
- Make it ahead: You can bake earlier and reheat; serve warm for the best texture.
- Boost flavor: A pinch of instant espresso or a teaspoon of orange zest in the batter brightens the chocolate.
Creative twists
- Peanut butter swirl: Drop dollops of peanut butter on the batter before adding the brown-sugar layer; they’ll melt into ribbons.
- Berry version: Mix 1 cup fresh raspberries into the batter for a fruity lift.
- Salted caramel: Sprinkle flaky sea salt over each serving and drizzle with warmed caramel sauce.
- Gluten-free: Use a 1:1 gluten-free flour blend; texture may be slightly different but still delicious.
- Vegan/dairy-free: Swap milk for almond or oat milk and butter for coconut oil; use a plant-based brown sugar (most are fine).
Your questions answered
Q: Is this cake really a pudding?
A: Yes — the top bakes into cake while the hot water and brown sugar create a syrupy, pudding-like sauce beneath. It’s a classic “pudding cake” technique.
Q: Can I make this in advance for a party?
A: Yes. Bake it earlier in the day, cool, cover, and refrigerate. Reheat in a low oven or microwave right before serving. Add ice cream at the last minute.
Q: Why did my top bake faster than the center?
A: Oven hotspots or a too-large pan can cause uneven baking. Try a smaller dish or rotate the pan halfway through. Also ensure your oven temperature is accurate with a thermometer.
Q: Can I use cold water instead of hot water?
A: Don’t. Hot water is essential to dissolve the brown sugar and form the sauce. Cold water won’t produce the same pudding layer.
Q: How can I make the sauce thicker?
A: Let the pudding cool 10–15 minutes before serving; the sauce will thicken as it cools. Slightly less hot water (e.g., 1 2/3 cups) will also yield a thicker sauce, but don’t reduce too much or the cake may be dry.
Q: Is it safe to leave warm pudding out for guests?
A: For buffet-style service, keep the dish warm but don’t leave perishable desserts out longer than two hours at room temperature to prevent bacterial growth.
If you want, I can create a printable card-style version of the recipe or suggest variations scaled for a larger crowd. Which would you prefer?