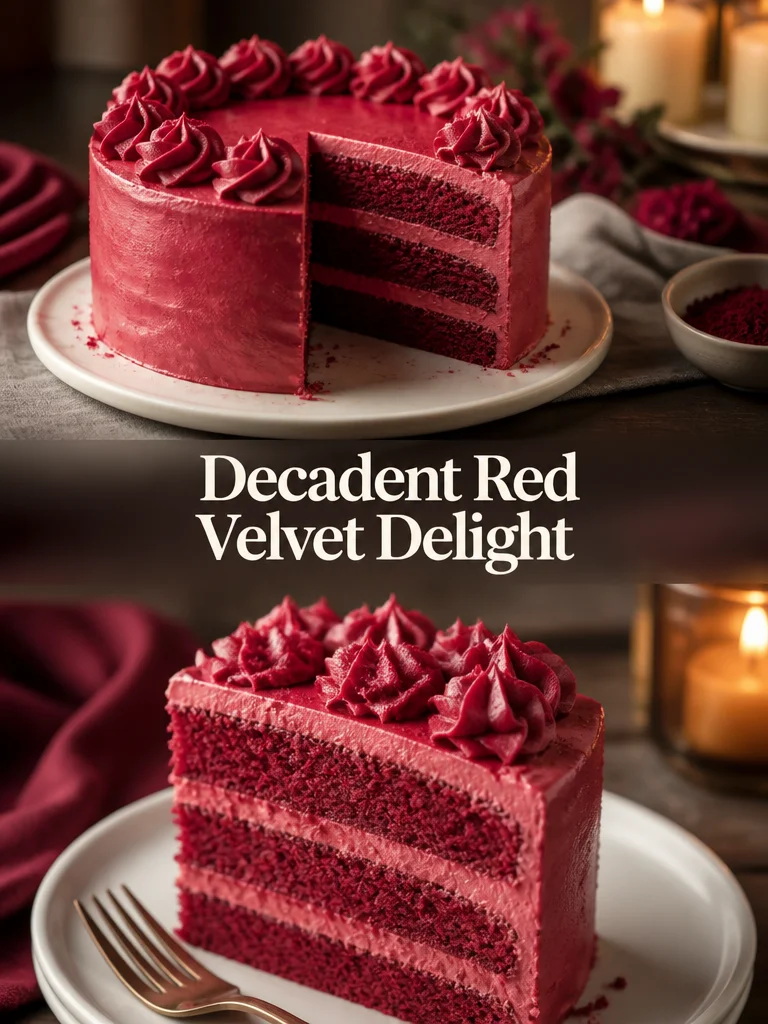
I remember the first time I made this Decadent Red Velvet Delight: the kitchen smelled of cocoa and vanilla, the crumb was tender, and the cream cheese frosting felt like velvet itself. It’s a classic two-layer red velvet cake that’s rich without being heavy, great for birthdays, holiday desserts, or any time you want a show-stopping treat with minimal fuss.
Why you’ll love this dish
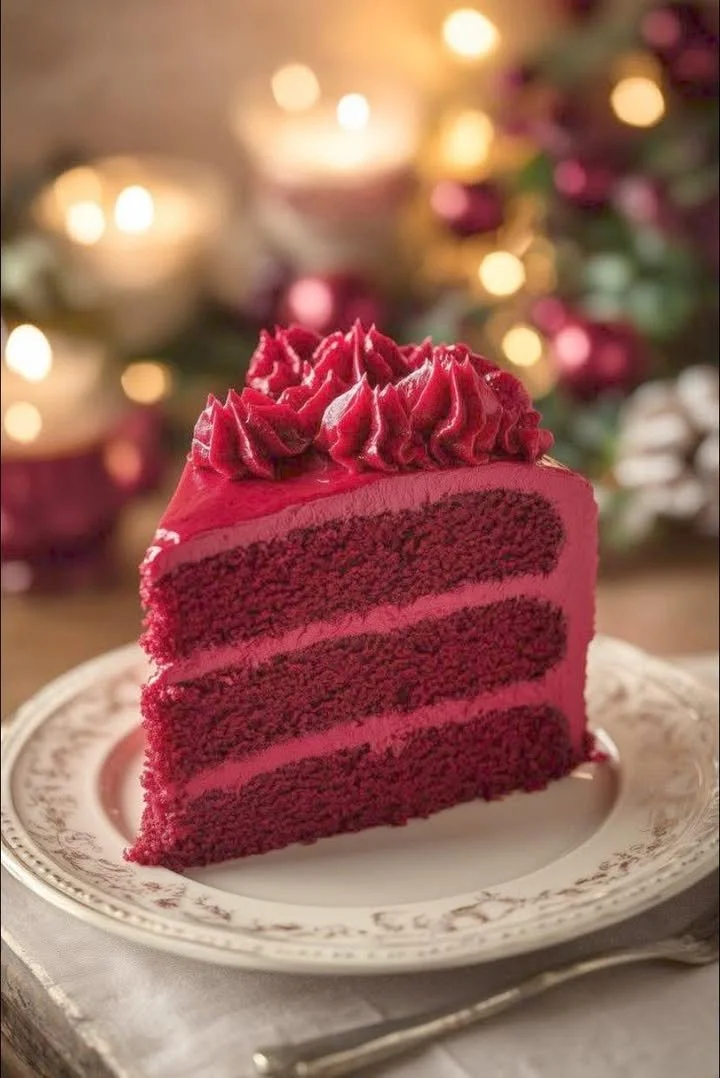
This cake hits a comforting sweet spot: soft, moist layers tinted a vibrant red and balanced by tangy cream cheese frosting. It’s easy enough for a weeknight bake yet elegant for entertaining. You don’t need special equipment—just two 9-inch pans, a mixer (hand or stand), and basic pantry staples. Families love it because kids adore the color and adults appreciate the subtle cocoa and buttermilk tang.
“Fluffy, tender, and perfectly tangy—this became our go-to birthday cake within weeks.”
What makes it special:
- Moist crumb from oil and buttermilk keeps slices tender for days.
- A hint of cocoa adds depth without turning it into a chocolate cake.
- Cream cheese frosting gives the classic tang that defines red velvet.
The cooking process explained
Quick overview so you know what’s coming: you’ll sift the dry ingredients, whisk the wet ingredients separately, then fold them together until just combined. Batter goes into two 9-inch pans and bakes about 25–30 minutes. After cooling, you’ll make a smooth cream cheese frosting, stack the layers, and finish the top and sides. Expect about 1 hour active time plus cooling.
What to watch for:
- Don’t overmix the batter—overworked gluten makes the cake dense.
- Bake until a toothpick comes out clean or with a few moist crumbs.
- Cool completely before frosting; warm cake can melt the frosting.
{image_template}
What you’ll need
- 2 cups all-purpose flour
- 1 1/2 cups granulated sugar
- 1 teaspoon baking soda
- 1 teaspoon salt
- 1 teaspoon cocoa powder (unsweetened) — adds depth; don’t substitute much more or it becomes chocolatey
- 1 1/2 cups vegetable oil (sub: mild-flavored canola)
- 1 cup buttermilk, room temperature (sub: 1 cup milk + 1 tbsp lemon juice or vinegar, let sit 5 minutes)
- 2 large eggs, room temperature
- 2 tablespoons red food coloring (or 2–3 tbsp natural beet powder rehydrated for a natural color)
- 1 teaspoon vanilla extract
- 1 teaspoon white vinegar (reacts with baking soda for lift)
- 8 oz cream cheese, softened
- 1/2 cup unsalted butter, softened
- 4 cups powdered sugar, sifted for smoother frosting
- 1 teaspoon vanilla extract (for frosting)
Notes on ingredients:
- Room-temperature eggs and buttermilk blend more uniformly and help emulsion.
- If you prefer less artificial color, reduce to 1 tbsp red coloring for a muted red-brown or use natural beet coloring; flavor and texture are unchanged.

How to prepare it
- Preheat the oven to 350°F (175°C). Grease and lightly flour two 9-inch round cake pans or line with parchment.
- In a large bowl, sift together the flour, sugar, baking soda, salt, and cocoa powder. Stir to combine.
- In a separate bowl, whisk the vegetable oil, buttermilk, eggs, red food coloring, vanilla extract, and white vinegar until smooth.
- Pour the wet mixture into the dry ingredients. Fold gently with a spatula or whisk until just combined—stop when you no longer see streaks of flour.
- Divide the batter evenly between the prepared pans. Tap pans on the counter to remove large air bubbles.
- Bake on the middle rack for 25–30 minutes. A toothpick inserted in the center should come out clean or with a few moist crumbs.
- Let the cakes cool in the pans for 10 minutes, then invert onto a wire rack and cool completely.
- For the frosting: beat the softened cream cheese and butter until smooth and creamy. Add powdered sugar gradually, mixing on low until incorporated, then increase speed and add 1 teaspoon vanilla. Beat until fluffy and spreadable. If too soft, chill 10–15 minutes.
- Place one cake layer on a serving plate. Spread a generous layer of frosting on top. Set the second layer on top and frost the top and sides evenly.
- Slice and enjoy. Keep slices chilled if not serving immediately.
Best ways to enjoy it
- Serve slightly chilled or at cool room temperature—this helps the cream cheese frosting hold its shape.
- Pair with a cup of strong coffee, black tea, or a glass of cold milk. For adults, a dessert wine like late-harvest Riesling or a glass of champagne contrasts nicely.
- Plate with a dollop of whipped cream, a few fresh berries, or toasted pecans for texture.
- For parties, cut into small squares for a buffet-friendly option or make cupcakes using the same batter (bake 18–22 minutes).
How to store & freeze
- Short-term: Keep the frosted cake refrigerated, covered with a cake dome or loosely wrapped. Cream cheese frosting needs refrigeration; it’s safe at room temperature for up to 2 hours.
- To reheat slices: bring to room temperature for 20–30 minutes before serving, or warm a slice in a microwave for 10–12 seconds (watch for melting frosting).
- Freezing: Freeze unfrosted layers tightly wrapped in plastic and foil for up to 3 months. Thaw in the refrigerator overnight before frosting. You can also freeze frosted cake, but texture may change slightly—wrap tightly and thaw in the fridge.
- Safety: Use within 3–5 days refrigerated. Discard if frosting develops an off smell, color, or mold.
Pro chef tips
- Don’t over-sift sugar with the dry ingredients; a gentle sift helps aeration but overdoing it can dry the mix.
- Use room-temperature ingredients to ensure a cohesive batter and even rise. Cold eggs or buttermilk can cause the batter to seize or bake unevenly.
- Measure flour by spooning it into the cup and leveling—don’t scoop directly with the measuring cup (prevents dense cake).
- If your frosting is too soft, chill it briefly; if too stiff, add a teaspoon of milk at a time to reach spreadable consistency.
- For a perfectly level cake, cool layers completely then trim the domes with a serrated knife before stacking. Save the trimmings for crumbs or snack bites.
Creative twists
- Red Velvet Cupcakes: Line a muffin tin, fill 2/3 full, and bake 18–22 minutes. Top with piped cream cheese frosting.
- Chocolate-streaked: Fold in 1/2 cup mini chocolate chips for texture.
- Vegan swap: Use plant-based buttermilk (soy/almond + vinegar), replace eggs with flax eggs (2 tbsp flax + 6 tbsp water, let gel), use vegan cream cheese and vegan butter. Texture will be slightly different but delicious.
- Layered parfait: Crumble baked layers and layer with whipped mascarpone and berries for a quick trifle.
- Spiced Red Velvet: Add 1/4 teaspoon cinnamon and a pinch of nutmeg to dry ingredients for warm spice notes.
FAQ
Q: How long does this cake take start to finish?
A: Active hands-on time is about 40–50 minutes (mixing, prepping, frosting). Bake time is 25–30 minutes, plus at least 1 hour total cooling before frosting. Plan 2–2.5 hours including cooling.
Q: Can I use cake flour instead of all-purpose?
A: Yes—substitute 2 cups cake flour for a slightly finer, more tender crumb. If you only have AP flour, the recipe works very well as written.
Q: Is the red food coloring necessary?
A: No—color is aesthetic. Without red dye, the cake will be a reddish-brown from the cocoa. For natural color, use beet powder or juice, but test small amounts first because it can affect moisture and flavor slightly.
Q: Can I make this ahead for a party?
A: Yes. Bake layers a day ahead and wrap tightly. Make frosting the day you assemble. Assembled cake keeps in the fridge for 3–5 days; take it out 20–30 minutes before serving to soften slightly.
Q: Why is there vinegar in the batter?
A: The vinegar reacts with baking soda to create lift and a light crumb. It also enhances the tang that characterizes red velvet.
Q: Can I substitute butter for the oil?
A: You can, but the texture will be slightly different—butter yields a firmer, more "cakey" crumb and may reduce moisture. For best moistness, stick with oil or use a mix (1/2 cup oil + 1/2 cup melted butter).
If you want a printable card or a scaled recipe (half or double), tell me how many servings you need and I’ll adjust the ingredient amounts and timing for you.